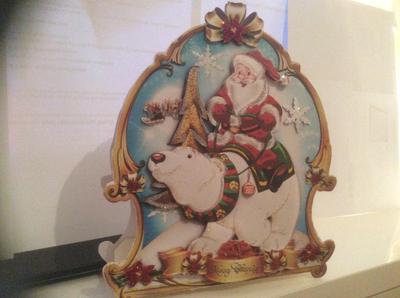
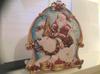
Santa is on his way
by Jennifer
(Glasgow)

|

|

|
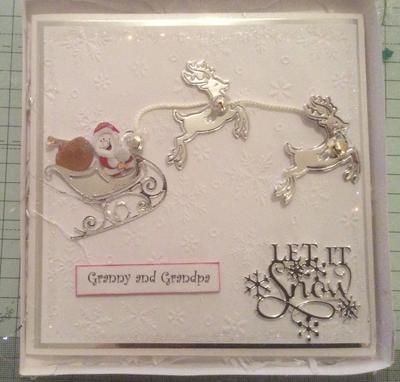
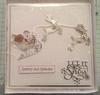
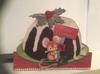
7 x 7 card, matted and layered Silver Miri card, embossed the white card with snowflakes.
Die cut a sleigh, reindeer's and the Let it Snow sentiment for the bottom right hand corner.
I used a Santa sticker and cut it up into separate pieces so that I could have Santa and his magic bag of presents separate on the sleigh.
I attached silver bells to the reindeers and used white twine to attach the reindeers to the sleigh
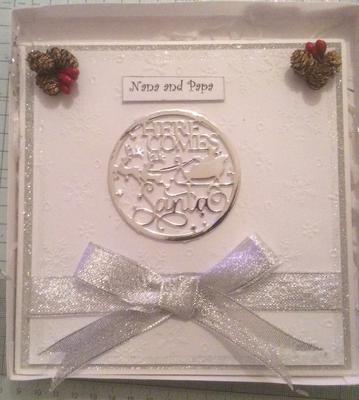
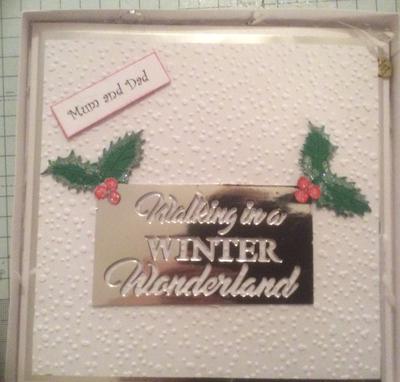
I have attached a further 2 cards which were very simple to make and only had a couple of die cuts for each of them. They are all 7 x 7 cards.
I put all the cards into boxes that I had made.
Christina says ...
Some one will have proudly displayed them on a mantelshelf over the holidays and they are all really lovely cards
Making the boxes makes them extra special and they will be treasured for a long time to come
Quick Christmas makes
by Jennifer
(Glasgow)


|

|

|


|
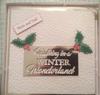
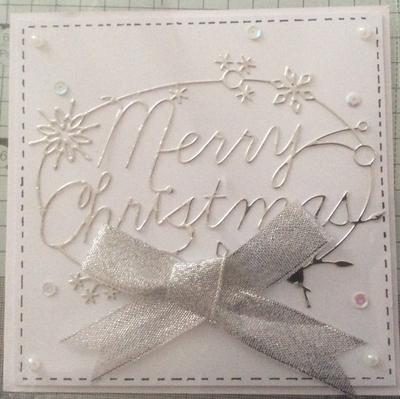
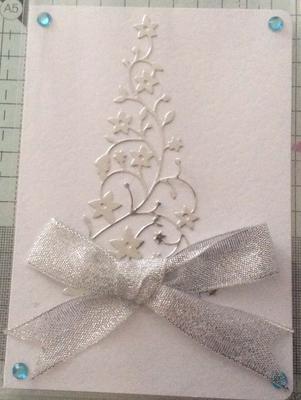
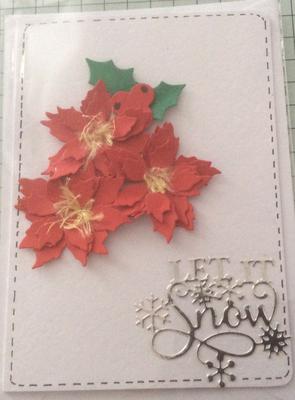
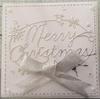
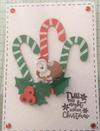
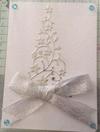
These cards were some of my quick Christmas makes, didnt take very long to make, but did the job for Christmas.
I lost count of how many I made in the end. Each of the cards only used one die to make the finished product, but they all look very different.
I hope you enjoy them.
Christina says ...
My goodness you have been busy ... not only making cards to send but adding them here in the gallery as well.
It is much appreciated Jennifer and it's nice to have you back again Regards Cxx
Click here to read or post comments
Happy cards
by Jennifer
(Glasgow)


|

|


|

|
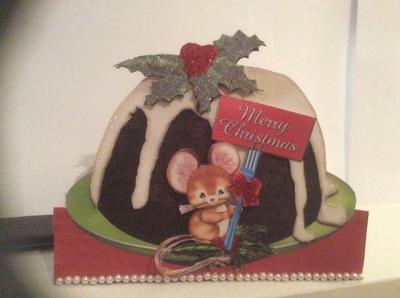
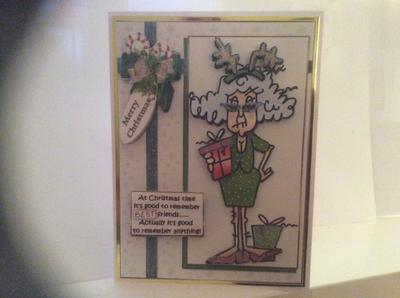
All of these cards were made with Craftsuprint, which is a great site to buy loads of different cards through. You make them up to however you want your cards to look.
Again, if you don’t mind cutting out to have decoupage pieces, they really turn out lovely cards. I have used glitter, glossy accents and other little bits and pieces on each of the cards.
I made my own boxes for each of them to go into, I hope you like them.
Christina says ...
I love the shaped Cards Jennifer they look really special and all are individually finished.
Click here to read or post comments
Advent Train
by Jennifer
(Glasgow)
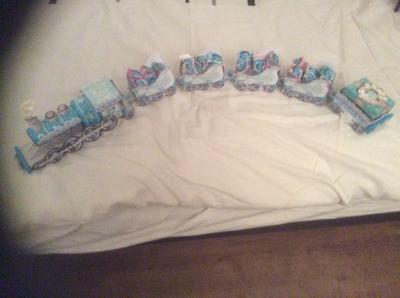

I made this Advent Train with the help of a file from Craftsuprint. It was relatively easy to make, but there was a lot of cutting out, so if you don’t mind that, you are definitely onto a winner.
I used fluffy stuff for the steam coming out of the front engine, I used a bendy straw to stick the fluffy stuff onto.
I used glitter on the train at various points and to finish off the train, I filled all the boxes that were in the carriages with soft jelly sweets.
The train really went down a treat with the children I made it for, they were wanting to eat all the sweets at the same time.
I hope that you like it.
Christina says ...
What a lovely project and I am not surprised that children loved it ...especially filled with sweets
Click here to read or post comments
Silver Baubles
by Jennifer Swandells
(Glasgow)


|

|
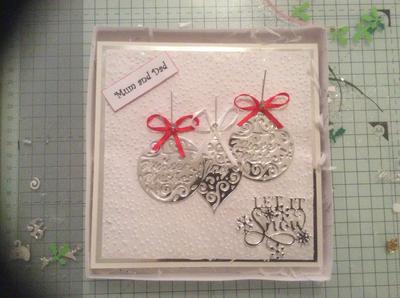
I matted and layered Silver Miri card with White card, then embossed the top white piece of card.
I then die cut 3 baubles and attached them to my card with hot glue. I die cut Let it Snow from Silver Miri card and also attached that with hot glue. I attached red and white ribbons to the top of the baubles.
I also made a box for the card, I cut out a circle in the box to show off part of the card. I attached red and white flowers to the outside of the box.
Christina says ...
Such a pretty card and it would have graced someones mantle shelf over the holidays. The opening in the box shows off the contents and always is a good addition to any Special card such as this
Click here to read or post comments
4 Baby boy cards
by Jennifer Swandells
(Glasgow)


|

|

|

|
I have put 4 baby cards in this one post, rather than posting them all separate.
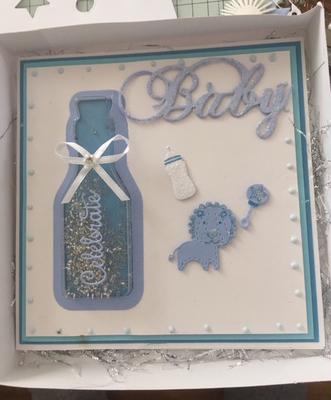
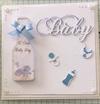
The first one was a 7 x 7 card matted and layered with two different colours of blue and a piece of white card on top.
Before I attached the white card, I die-cut a bottle from the card and put in a plastic bottle, which I glued at the back of the card to ensure it didn't move.
Once I did this, I then put in some glitter and attached a blue piece of card to the back of the bottle.
I then attached the white card onto the light blue piece of card.
For the front of the card, I die-cut the Baby sentiment, Celebrate, a lion, a rattle and a baby bottle. I then coloured parts of these items with blue gel pen.
I glued all the bits place with a hot glue gun so that it would give things a bit of dimension.
I then used Nuvo Crystal drops to put round the edges of the card, unfortunately, I have still not got the knack of putting these on straight. Any tips would be helpful.
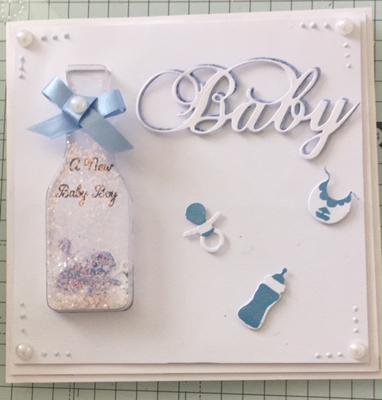
The second card is very similar to the first - another 7 x 7, however, I used a dummy, a bib and a bottle and die-cut out two Baby in blue and white card. I used 4 pearls at the corners and 3 Nuvo Crystal drops.
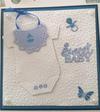
The third card, you guessed it is another 7 x 7 card. Matted and layered with two pieces of different coloured blue card. The top piece of white card has been embossed with dots.
I die-cut a baby onesie, a bib, dummy, butterfly and Sweet Baby sentiment ( used two pieces of different coloured card for this)
I attached all of the pieces to the card with hot glue to give it dimension.
I coloured in some parts with blue gel pen.
I also attached a piece of blue ribbon to the top of the bib, and 4 pearls at each of the corners.
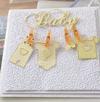
The fourth card is another 7 x 7 card, white on white, with the top piece of card being embossed with small hearts.
I die-cut the Baby sentiment and all the baby clothes.
I then attached a small piece of string (as the rope for the washing). I then put black dashes round the outside of the clothes and attached them to the rope with small pegs.
I hope that you enjoy the baby cards.
Christina says ...
Such pretty cards ... ALL of them. I couldn't choose a favourite as they are all bright and colourful
Click here to read or post comments
Annie the Cleaner
by Jennifer
(Glasgow)
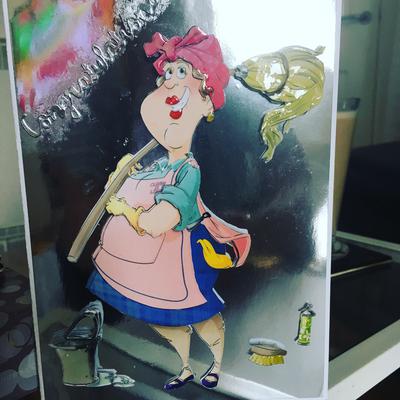

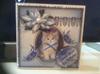
This was a card that I made for a friend who had just got herself a new job. It is made from Craftsuprint.
I cut out all the decoupage that was needed for the card, I used Glossy accents on the mop, lips and bucket. I die- cut Congratulations out of Silver card. I put it all together using hot glue to give it some dimension.
Christina says ...
Fun card and I bet your friends was delighted with it Cxx
Click here to read or post comments
Blue and White Happy Birthday card
by Jennifer Swandells
(Glasgow)
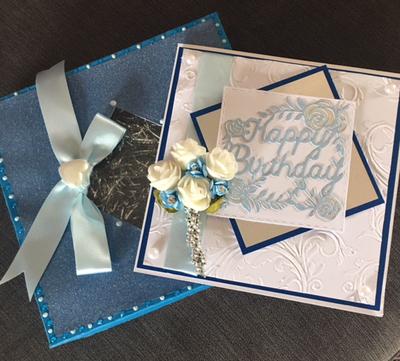

Another 7 x 7 card, matted and layered with blue and white card, the white card has been embossed.
I then cut out two squares one in silver and one in blue to pur in the centre of the card (which I have now realised is not in the centre - OOPS) I then die-cut a Happy Birthday die which I had got free with one of my magazines.
I attached pieces of silver card behind the roses and attached all the pieces to the top of the card.
I then put a posy of white roses and blue flowers on top.
I then made a box to put it in, with a blue ribbon and heart shaped pearl on top. I used Nuvo Crystal drops round the outside of the box.
Christina says ...
The mistake is only obvious to you ... the rest of us think it is lovely and would be more than happy to get a card like this.
Click here to read or post comments
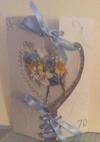
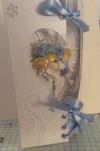
70th Birthday card
by Jennifer Swandells
(Glasgow)


|

|

|

|
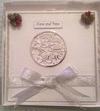
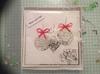
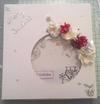
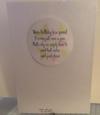
I wanted to make a special card for my friends 70th birthday, and after looking through Christina’s cards, I decided to opt for the Bow fronted card
I followed all the instructions that Christina gave and I was pleasantly surprised by how my card turned out.
My friend likes blue and yellow, so I decided to go with that colour scheme, on the inside of the card I put a heart shaped piece of card, embossed with hearts and round the outside of the heart I used a length of sparkly diamonds. My friend will be wishing they were real, unfortunately not.
On the outside of the card I used pearl swirls and a number 70 (in the corner), as I know she doesn’t want to be reminded too much of her age.
I used blue ribbon to put through the eyelets, although I may change it to white as I am not sure of the colour.
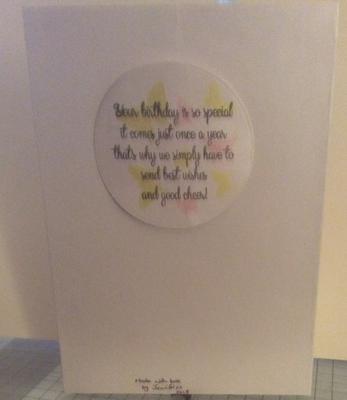
On the back side of the card, I die cut a circle and stamped the sentiment ‘Your birthday is so special it comes just once a year, that’s why we simply have to send best wishes and good cheer’.
I stamped a couple of butterflies on the back of the stamped sentiment.
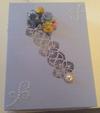
I also made a box envelope and used the Striplets - Ravello die to cut out the piece in the centre of the box. I used acetate to back the die, and used the same colour scheme for the flowers on the outside of the box.
I know that my photographic skills are not the best, I just need to work on these.
Christina says ...
Such a pretty card and this has to be one of the most wonderful ways to make a card that is sure to WOW. It will stand out in any crowd and is quite easy to make
Click here to read or post comments
Baby Boottees
by Jennifer Swandells
(Glasgow)


|


|
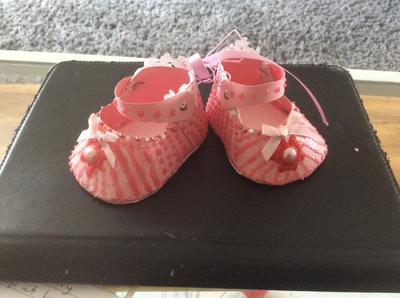
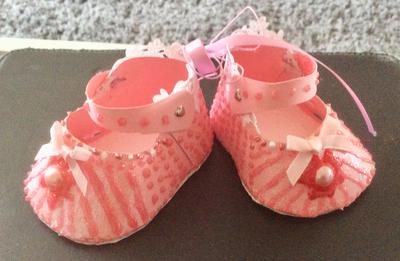
I have looked at these boottees on so many occasions and I never even tried, so as everyone near to me are popping out babies like smarties, I just decided now was the time.
So I got my template, cut everything out and glued things where they were supposed to be. I then got started with my Nuvo Crystal Drops, glitter, gems, little ribbons and just played about.
They are certainly not perfect by any means, but I was pleased with how they finally turned out.
I gave this pair to my neighbours who have just had a beautiful, tiny little girl who they have named Emma.
Christina says ...
How sweet are these little bootees and I am sure that the recipient was delighted with them. They are adorable and thank you for showing us Cxx
Click here to read or post comments


Recent Articles
-
Memory Book
Oct 15, 22 09:17 AM
 Make a memory book, fun to make and even lovelier to give.
 -
Die cut letters.
Jul 19, 21 10:12 AM
 Add that personal touch with die cut letters, add names or sentiment as you please.
 -
Diaper Fold Card.
Jul 19, 21 09:34 AM
Create this fun Diaper Fold Card...and no need for a pin!
Search
