Using Acetate in your Creations
Acetate is an interesting material to work with, give it a try for some
different effects.
You can buy these sheets
singly or in packs and they come in different weights and sizes, and they are measured in Microns so the higher the micron the thicker the Acetate
They can be used for lots of projects so have some fun with them and see what you can create. You can even print on some types
Here are some of the things you can do with it.
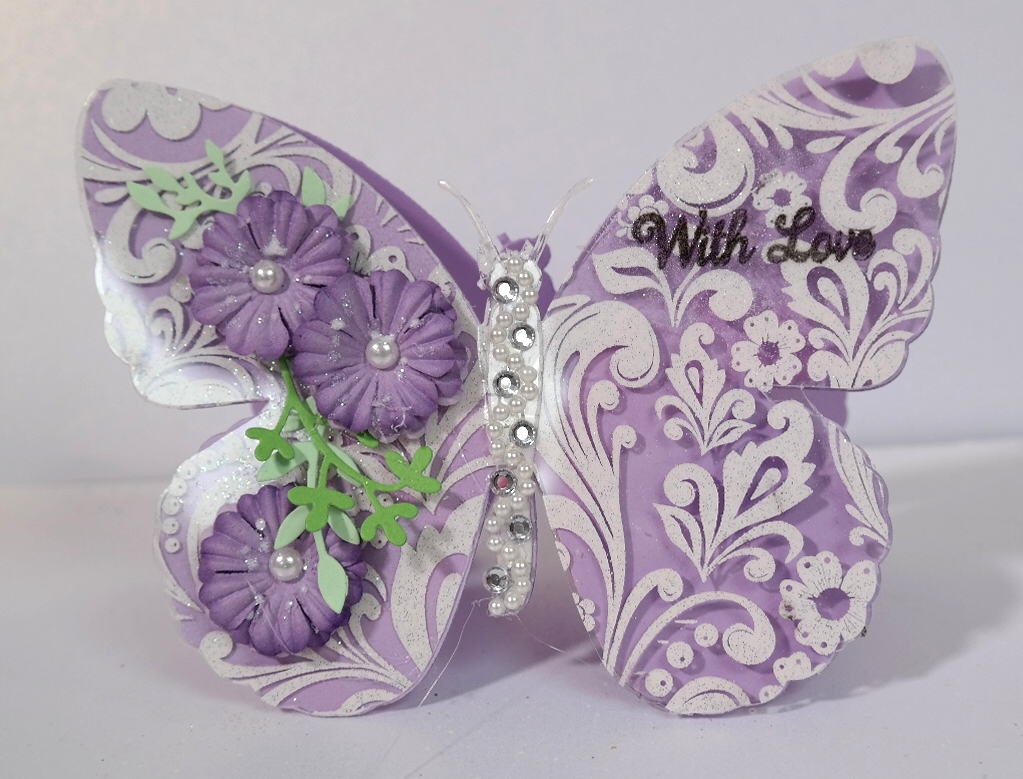
This butterfly is created from some acetate that has already been printed on with a beautiful glittery finish.
I used some of my Butterfly Trails Collection dies to make it and then added gemstones down the body line
A really pretty effect that is complimented by the flowers.
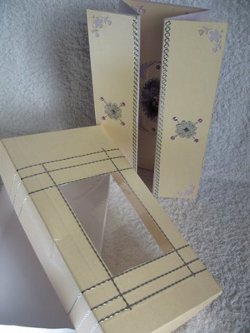
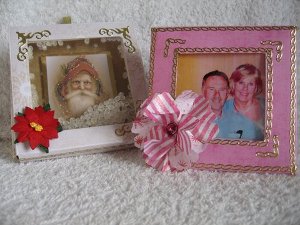
The thicker sheets can be used to make a complete box with, or make a box from matching card, and use the thinner acetate in the lid.
Adding the thinner sheets into the top is all you need as the strength is not needed and you can still see your creation through it.
Add some peel offs for that extra touch and send it with love.
Or embellish it with flowers as I did with the box for the Memory book
You can buy good quality Acetate sheets from Craft Stash
For this project I used it to add a window to some paper crafted frames and then added my favorite photos.
Always nice to give as a personalised gift at Christmas ... or add your childrens photos as a little gift for Grand parents at any time of the year.
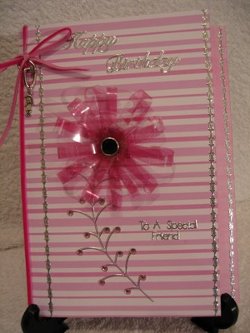
Click this link to find out how to make the pink Paper flower
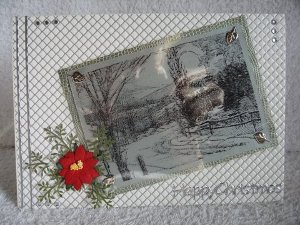
Use the printable material to make toppers for your cards.
Make sure you print onto the rough side of the acetate and then be sure to leave it for a couple of minutes to dry before you start to work with it to avoid smudges
I printed four of these snow scenes onto one piece and cut them up
I layered them onto a glitter card with brads and mounted it at an angle onto
my card.
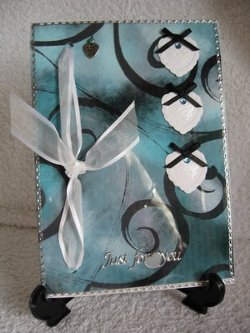
Or leave it as a complete sheet and use it to wrap around the card for an elegant touch.
I have used this printable sheet and added a lovely swirly pattern to it, with an everyday small printer, and then wrapped it around a linen effect white card stock.
It has then been decorated with silver border peel offs around the edges.
The Hearts have been heat embossed and tiny ribbon bows added to the top of each one, with a small gemstone underneath.
The white organza ribbon along the spine is the finishing touch, with a peel off sentiment along the bottom of the card that says "Just for You"
Or you could add a printed or die cut sentiment if you preferred.
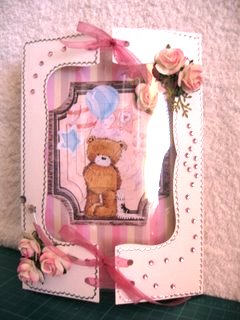
Another idea is to use it in an aperture for your card front.
I cut out the opening I wanted and fixed the acetate behind it with a strong double sided tape.
I then decorated the front with the ever useful peel offs, or you could ink around the edged with a blender.
And of course I just had to add some flowers...wouldn't be the same without them!
Here is the tutorial on how to make this card for yourself.
And you will need the template for the opening in the front of it.
Try cutting out a small section of your image to make a Shaker card for an
unusual finish.
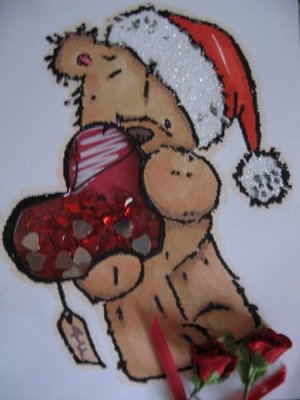
Here I just removed the centre heart that the bear is holding and I filled it with red heart gemstones, for someone really special!
Aaawwww!!
And here is a really novel way to use it as a complete wrap around the base card.
It is very easy to do and the instructions to make it are now in Video Tutorials
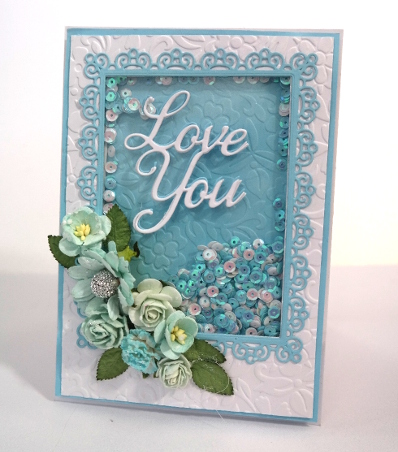
Or you can use any thickness to turn it into a beautiful full shaker card and that is then added to the front of your base card.
For this one I have added in some turquoise and white small sequins to match the colour scheme and fill the centre.
Not too many as you want them to rattle as the card is shaken ... hence the name shaker card
You can find the instructions to make this card on my
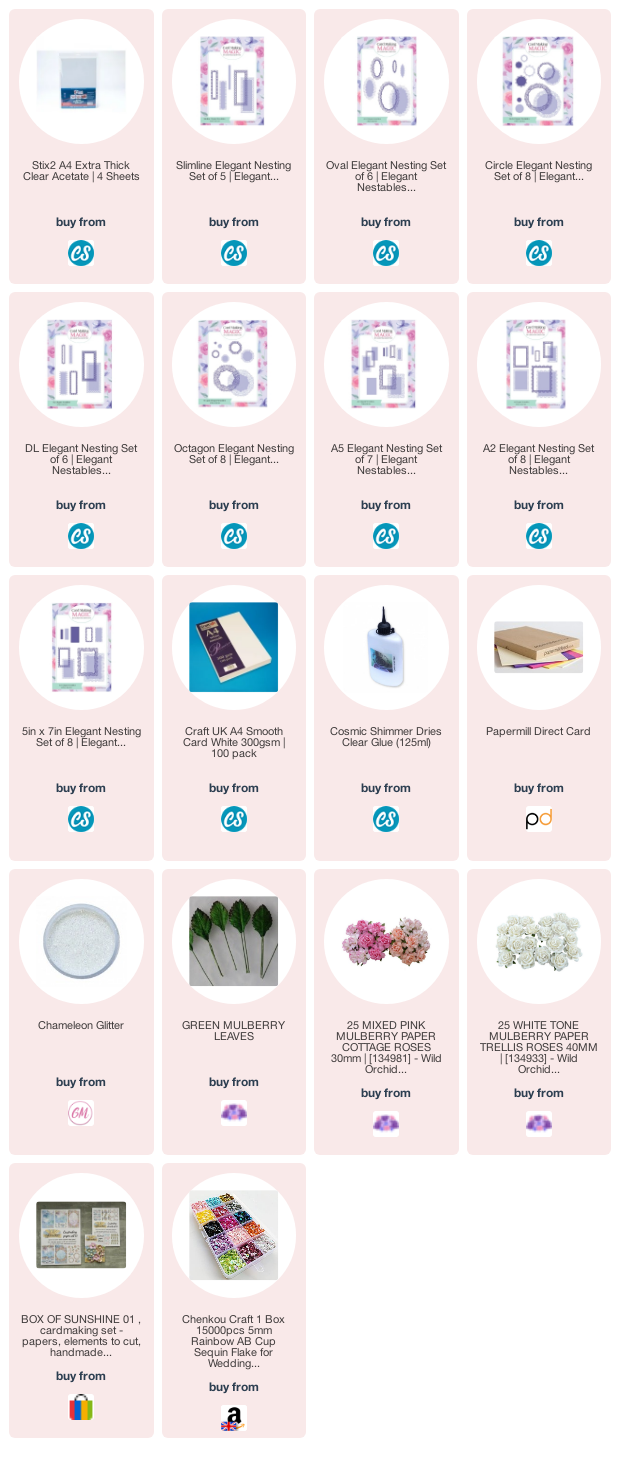
The links to many of these products are at the bottom of the page and they will take you to another window for you to view.
They are affiliate links which means I may get a small commission if you buy through those links at no extra cost to your self.
Return from Acetate to Homepage

Recent Articles
-
Memory Book
Oct 15, 22 09:17 AM
Make a memory book, fun to make and even lovelier to give. -
Die cut letters.
Jul 19, 21 10:12 AM
Add that personal touch with die cut letters, add names or sentiment as you please. -
Diaper Fold Card.
Jul 19, 21 09:34 AM
Create this fun Diaper Fold Card...and no need for a pin!
Search

