Adding Lace to Cards
Adding Lace to cards is such a pretty, and feminine, addition and can turn them into something really special, and it is yet another way to make them stand out from the crowd
It doesn't have to be expensive lace and it doesn't have to be just for your girly cards either, as there are many different types of lace available.
Or you could use Lace Die Cuts instead, and there are many many dies on the market with that lacey look to them
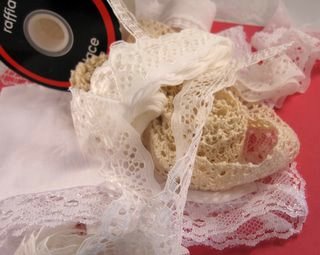
This very pretty embellishment can add a touch of luxury to any of your designs.
It comes in many different styles, colours and widths.
There is Crochet lace and Guipuire as well as some very beautiful Vintage lace ... but of course that comes at a price
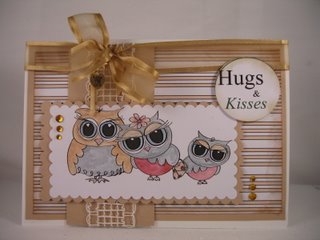
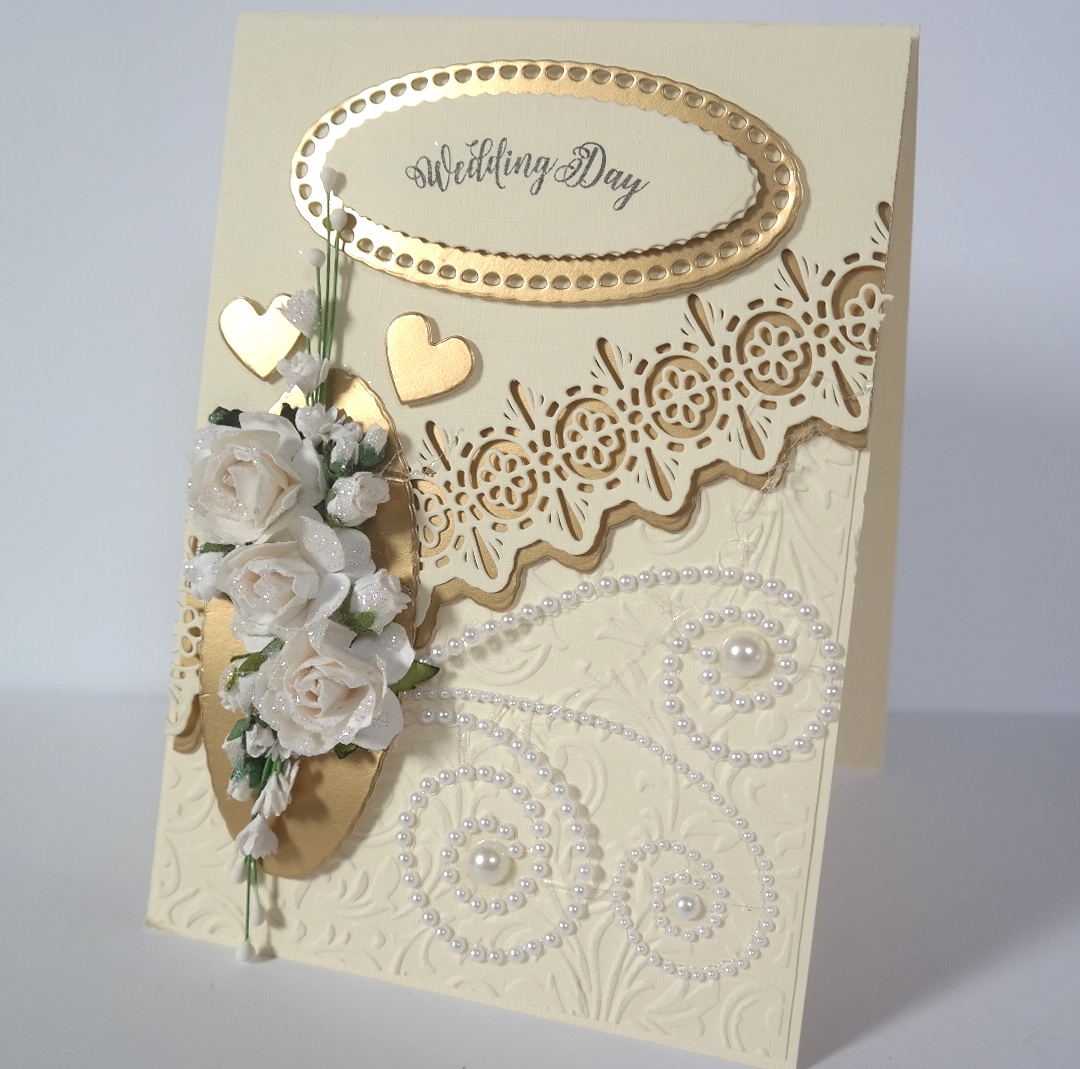
This cream and gold card has used die cuts for adding lace to cards, and they are the Card Making Magic Collections at Craft Stash
It has been added with foam tape under it to give depth to the design.
It looks really opulent with the gold underneath and of course the flowers are there to set everything off.
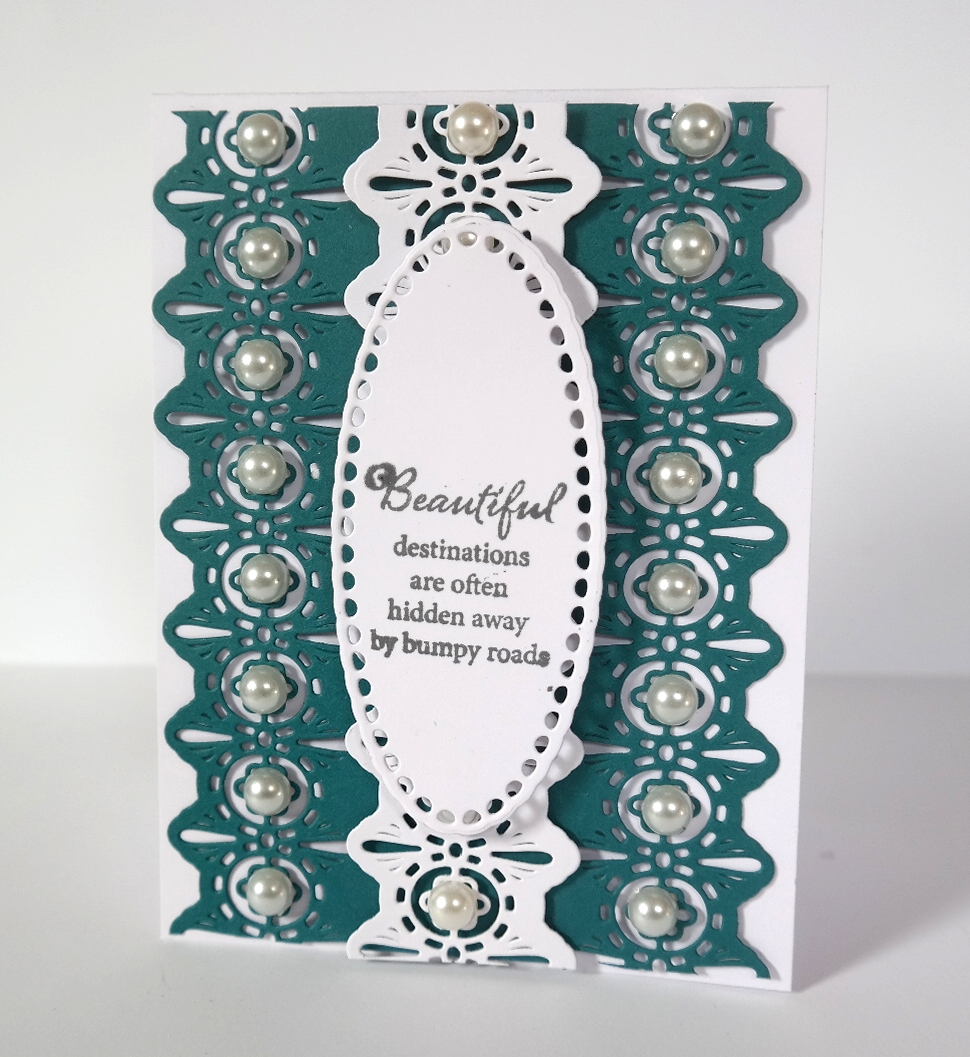
This Teal and White card has used the lacey border die cut on both sides of a separate white lacey panel and then added to the base card.
Large pearls have been used to enhance the pattern in the lace and they all create the card front.
And of course with dies you can create the lace look anytime you want and never run short of some.
And please make sure that you have something underneath the lace to protect the work surface as you colour, because the markers are permanent ink and will spoil your top if you aren't careful
This is a finer lace and it has been wrapped around a separate panel with some ribbon over the top.
It will hide where the panel joins the main card, and it can hide a multitude of sins you may make ... like that inky fingerprint !!
I find it better to work on a separate top layer first and then add that layer to the base card.
Your ribbon will stay in place with a little strong double sided tape.
That way all the workings will be hidden behind that panel keeping the look of your card neat and tidy
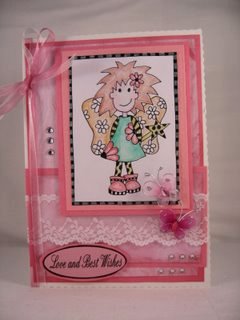
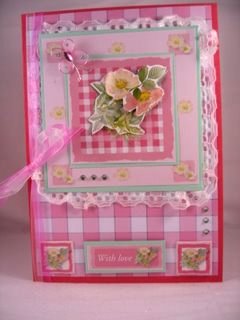
The image panel on this card has had the ruffled lace added around the edge.
I have used a strong double sided tape to hold it in place but you can add it with a glue gun if you prefer.
And again because the panel is separate from the base it will hide all that ugly tape from view.
Extra Organza ribbon has been added to the spine of the card for an added effect, or you could thread the ribbon through a
Ribbon Border die cut for an extra special addition to your design
Lace can also be a useful addition to cards for the men in your life.
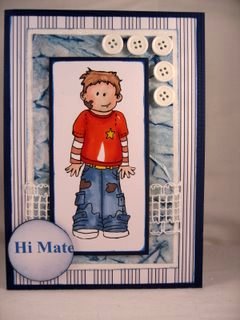
Raffia Lace has been used again here and it is reasonably cheap and can be bought from the Gardening section in your craft shop or Garden Centre.
It is a good addition to male themed cards because it is not the ornate type of lace and it can be used for any occasion.
The buttons and the Distressed background paper will keep the look rugged enough for a young mans birthday.
And if you don't want to add the real thing then Paper Lace is an alternative you may like to consider.
You can create your own paper lace using the edge of a doily to great effect and I have a tutorial to show you how I did that
Paper Lace
Doilies are really pretty and cheap and come in lots colours patterns to suit your personal colour scheme.
They can be bought in most supermarkets too and there usually many in a pack so make sure you separate them carefully as the tend to stick together in the pack.
There are many types and ways to add this lovely embellishment to your projects without breaking the bank.
All you need is a little imagination and perhaps some inks to alter the colours and you can add a lace look to anything that you are making whether it is for a male or female card.
I think we sometimes forget that men do like lace and flowers as well and we tend to go for the darker tones of brown, navy blue or the neutral one.
So maybe it's time to give the men you make cards for a little treat by adding lace to your cards, even if only the Raffia or die cut kind.
Return from Adding Lace to Cards to Homepage

Recent Articles
-
Memory Book
Oct 15, 22 09:17 AM
Make a memory book, fun to make and even lovelier to give. -
Die cut letters.
Jul 19, 21 10:12 AM
Add that personal touch with die cut letters, add names or sentiment as you please. -
Diaper Fold Card.
Jul 19, 21 09:34 AM
Create this fun Diaper Fold Card...and no need for a pin!
Pretty Embellishments
PopShops™ affiliate storesSearch

