Try Alcohol Inks...
and blend your
way...
to some unusual effects!
Alcohol Inks are fun to play with and can produce some unusual
results.
There are many different types of inks and just as many ways to use them.
They are a fun product to play, so experiment and see what you can come up with.
This striking card was created using Alcohol Inks from the Tim Holtz range
But you can also use the refills that you buy for your Alcohol Marker Pens with great success.
This is one of many ideas on how to give them a try.
This is very easy technique to re-create, even if it's a bit messy.
(Well I make it messy...you may not.)
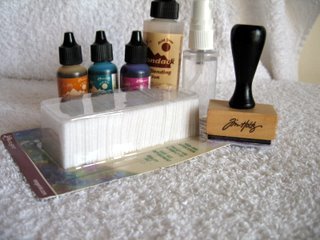
The finished scheme will depend on the colours of the inks you choose.
I have used two, Wild Plum and Stream.
I also have a blending block and some felt pads to place on the end.
You can also make your own Blending Tools very easily
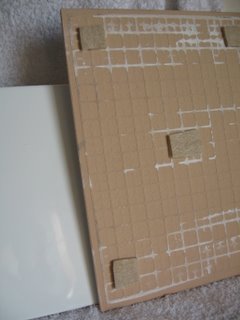
You will need something to contain any mess you make.
This is just a plain, smooth, white tile, with large foam pads underneath to stop it sliding.
(It's the sort of tile you may use to tile a kitchen, it was very cheap...and it cleans easily)
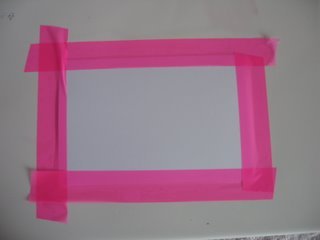
To my tile I have used masking tape to hold a piece of Acetate in place.
Because you are going to heat this, you will need to buy heat resistant acetate.
You can't tell the difference in the look of the acetate sheets.
I save my self the bother of getting them mixed up and always buy the heat stuff in the first place.
(My piece is about 15 x 21 cms and will be cut to the size I want later)
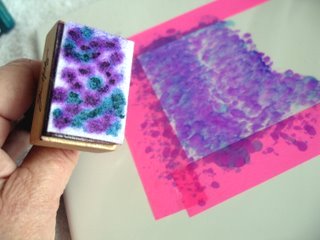
On to the blending tool, randomly add some drops of your chosen colours.
And then dab the pad down onto the acetate.
Keep dabbing until all the acetate is covered.
Add more dots of the ink to the pad if you run dry.
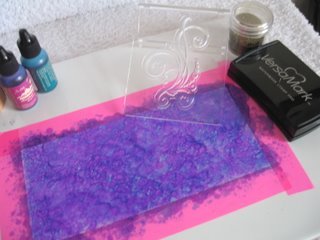
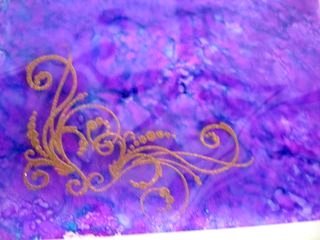
With the VersaMark and my flourish stamp I stamped it onto the acetate, placing
it just off center, and sprinkled it with gold embossing powder...
...heated it up and Voila!
I decided to put my panel into a gold frame and I cut it so that it would be
slightly smaller than my A5 card.
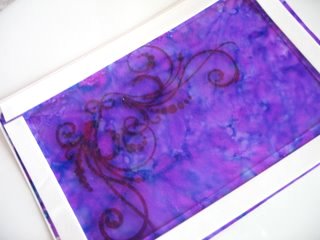
I attached the acetate to the gold frame with double sided tape, and then
triimed it to fit the frame.
On the back I used shaker tape, to raise the frame up from the card.
Using the ink left on the Blending tool, ink
the edges of your card blank, working your way into the center.
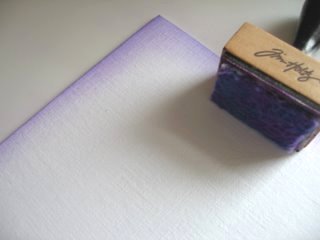
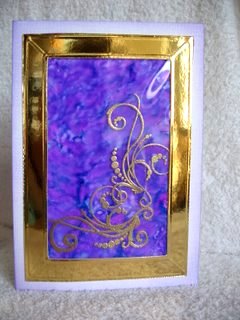
Add your frame to the front of the card, and it's now ready to dress up.
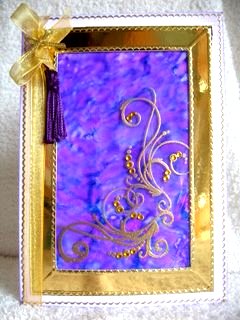
Around the edge of the card, and the frame itself I added some gold Peel
Offs.
Organza ribbon and a purple tassell where added to the spine.
And on some of the flourishes I added gold Gemstones.
Altogether
a rather striking card.
You can vary the card by using different colours of the Alcohol Inks
Return from Alcohol Inks to Homepage

Recent Articles
-
Memory Book
Oct 15, 22 09:17 AM
Make a memory book, fun to make and even lovelier to give. -
Die cut letters.
Jul 19, 21 10:12 AM
Add that personal touch with die cut letters, add names or sentiment as you please. -
Diaper Fold Card.
Jul 19, 21 09:34 AM
Create this fun Diaper Fold Card...and no need for a pin!
Search


