Altered Notebook...
... from Basic to Beautiful
This altered notebook will change how you look at things...for ever
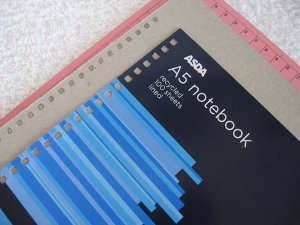
This little book looks very plain and cost me 40p from Asda.
Now as things go it's a very serviceable notebook, great for jotting all sorts of thing into.
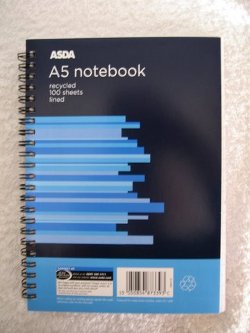
But, being me...I wanted some thing a little different, and so it was changed from that...
There is also a video on creating this project and although the title says " with Spellbinders" it will help you to see the steps with or without the use of these dies.
Step 1
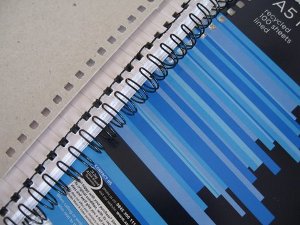
Choose a spiral notebook, just a cheap one will do.
But make sure that the spiral can be opened before you buy.
I haven't given you any measurements because it doesn't matter.
It all depends on the size of book you buy.
Carefully pull open the spiral, but try to keep them it shape as it will need to go back together again.
Remove the front and the back cover, taking note of how they came off so that you can put them back on the same way.
Keep the inside pages to one side for now.
Step 2
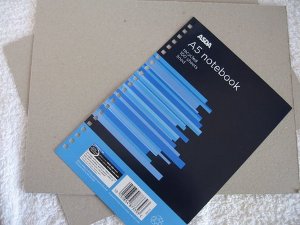
Put these onto some cardboard and make a template from them.
You will use these to make your chosen patterned papers fit.
And on to some thicker cardboard to replace the thinner covers that you have removed if you wish.
Step 3
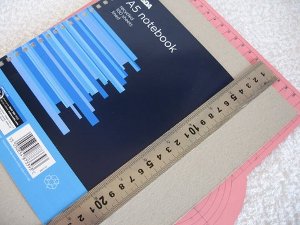
Carefully cut out the cardboard. I have made my templates a ruler width wider than the original covers on three sides.
Step 4
Mark on your template where the holes are so that you will be able to re-insert the spirals correctly...
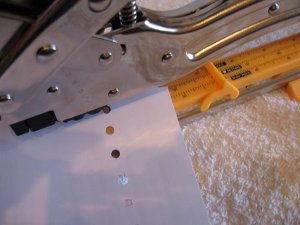
...and then using whichever method you prefer, punch the holes.
Step 5
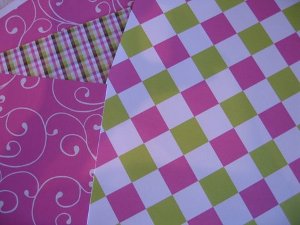
Choose the papers you want for your altered notebook.
I have used some really bright ones as I want to make it trendy for a friend.
These papers are from "Funky Fairy Papercrafts" and they are called "Chocolate Covered Christmas".
Step 6
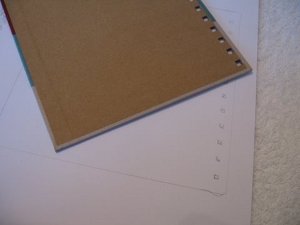
With your templates, on the wrong side of your chosen papers draw around the cover.
Then leaving a wider border, so that you can fold it over the edges of the cover, cut the paper.
Make marks on the paper where the holes are, and punch them out.
Step 7
Using a strong glue fix the paper to the cover, making sure to line up the holes.
Fold in the edges to give a neat finish.
It may help to reduce some of the bulk to the corners by snipping out the excess paper.
Trim the side where the holes are so as not to cover them over.
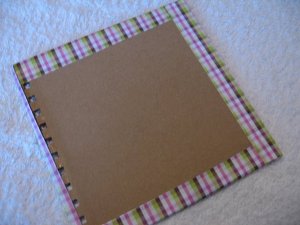
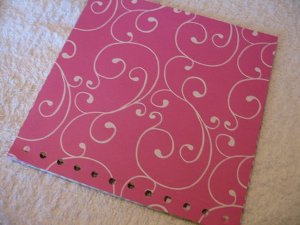
Step 8
For the inside of the cover cut a piece that is slightly smaller this time.
This is to hide the areas that have been folded over, and glue in place.
You can punch the holes through this sheet when it is glued in place, using the ones on the other side to marry up.
You now have the inside and outside of one of the covers completed... Yes? OK! Do the same for the other cover...
Step 9
...So! you now have two covers with lovely paper on both sides.
Great!...carefully put the notebook covers back onto the spirals around the inside pages of the book.
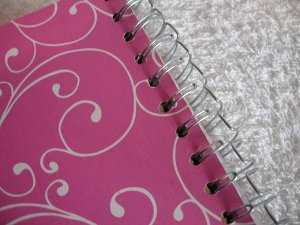
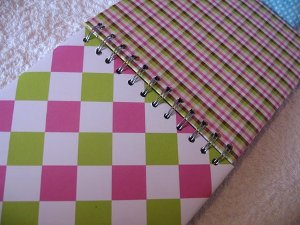
Step 10
And when both covers are in place close the spirals back up.
There is your altered notebook looking much lovelier than when you bought it.
I decorated mine with flat backed pearls, organza ribbon, some flowers and leaves.
I added a silver initial charm for the recipient, and I think it looks very well dressed....don't you?
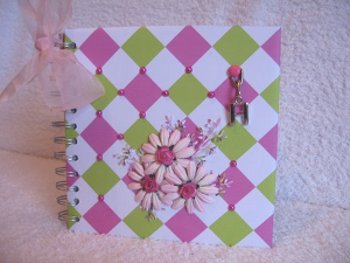
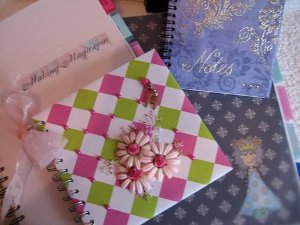
Here are several more, all of different sizes.
And for another interpretaion of the altered notebook take a look in Embossing for another stunning idea.
Magic!
Return from Altered Notebook to Homepage

Recent Articles
-
Memory Book
Oct 15, 22 09:17 AM
Make a memory book, fun to make and even lovelier to give. -
Die cut letters.
Jul 19, 21 10:12 AM
Add that personal touch with die cut letters, add names or sentiment as you please. -
Diaper Fold Card.
Jul 19, 21 09:34 AM
Create this fun Diaper Fold Card...and no need for a pin!
Search


