The Magic of Heat Embossing
Heat Embossing is one of many techniques that will help you to make a truly magical card or gift.
The raised shiny surface created when the powder is heated will prompt many questions about how you achieved the effect.
And it's so easy to do
Scroll down the page to see the difference when the powder is heated
Heat embossing was one of the techniques that had me really fascinated when I first started to make cards.
I loved to watch how the dull powder could turn into a magical gold or silver effect right in front of my eyes.
It never failed to amaze me.
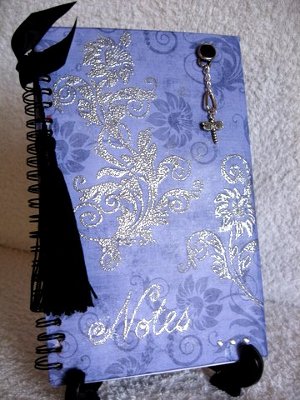
This Notebook was altered from plain into this lovely finish by adding some patterned paper.
Pick out parts of the flower and flourish, with a glue pen, and then add the silver powder and heat it until it melts.
Just follow the steps to create your own handmade gifts.
Dress it up any way you want, and the effect is rather special.
This powder will stick to any moist surface, so a good tip is to wipe over the surface to be stamped first
One way to remove any moisture, and the static, is to wipe over the surface with a USED tumble drier sheet, before you start. Talcum powder works just as well and makes your card smell lovely in the process.
This will remove any oil from your hands that could be transferred to the card and spoil the effect.
Or another way is to wipe over the card with a little cornflour, this has the same effect.
You could buy an anti-static bag ... but why spend money you don't need too.
These methods work just as well.
The ink needs to be slow drying, to give you time to work the magic, before it starts to dry. Once the ink is dry the powder will just brush off and you will lose the image.
The powders come in all different colours and textures, from superfine to ultra thick. Some are vibrant colours and others are antique effects. Try mixing different colours together.
Sprinkling some glitter in makes another effect. Experiment and see what you get.
The basic technique involved is to stamp your desired image, sprinkle on the powder, tap off the surplus back into the jar, and then heat for the magic to happen.
You will need a heat tool for this technique, your hair dryer is not hot enough and it will blow the powder away as you switch it on.
Allow the heat tool to get good and hot before you start and then work it slowly over the powder, heating one bit at a time and watch it melt. It turns into a raised shiny surface as you watch
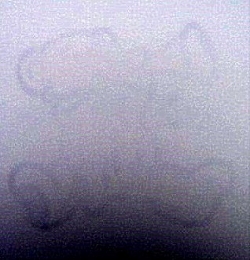
Step 1
The stamped image here has been done with a clear pigment ink.It is barely visible at start, but see what happens as we go along.
Step 2
The image has now been sprinkled with an antique gold powder and it looks quite dull

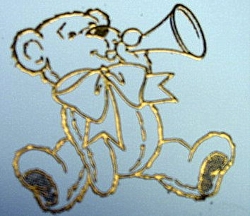
Step 3
Using the heat tool gently, move over the image and it starts to change.
Now the teddy has a raised golden edge and looks really good
Step 4
I coloured the image in with some brush markers. You could make her any colour you wanted.
Doesn't she look different?


Step 5
And here she is with her bow sparkled up with a touch of Glitter Magic
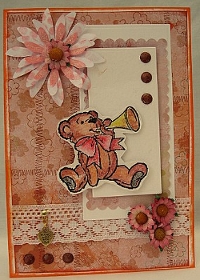
And here she is all done up and ready for the ball. The completed card done in a different colourway
The embossing is so simple to achieve and the result can be stunning in whatever colour you choose
This magic technique is fabulous to see and the results are a delight.
A child's card decorated with this lovely teddy bear would be sure to please.
And different colourways produce different results
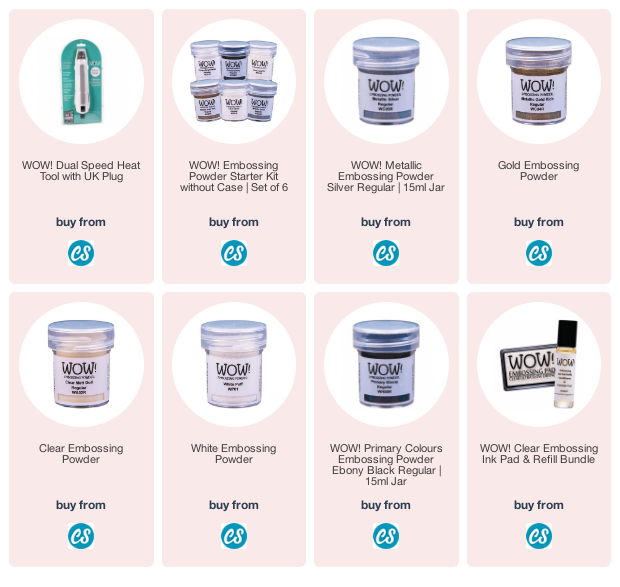
Heat tools are available at different price points and you will find a good selection of tools and powders at Craft Stash
Dry emboss
Folders
Techniques
Mica Powders
Easy Projects
Return from Embossing to Homepage

Recent Articles
-
Memory Book
Oct 15, 22 09:17 AM
Make a memory book, fun to make and even lovelier to give. -
Die cut letters.
Jul 19, 21 10:12 AM
Add that personal touch with die cut letters, add names or sentiment as you please. -
Diaper Fold Card.
Jul 19, 21 09:34 AM
Create this fun Diaper Fold Card...and no need for a pin!
Search


