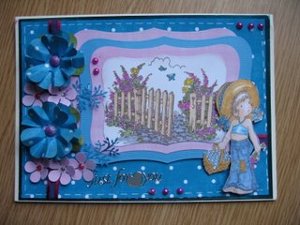
Faux stitching effects...
fun to do, easy to add.
Create a faux stitching effect when rub on stitches won't do... and the machine is in the attic!
Faux Stitching is quite easily achieved if you have a sewing machine, but not everybody does...or maybe you just can't be bothered to get it out for one small project.
Step 1
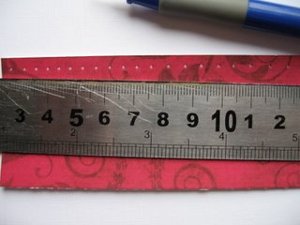
I start the technique with a pricking tool and a metal ruler and I make equally spaced holes along the edge.
This gives an authentic look, as if the stitches have pierced the paper.
It doesn't matter if they are unevenly spaced, it all adds to the charm.
Step 2
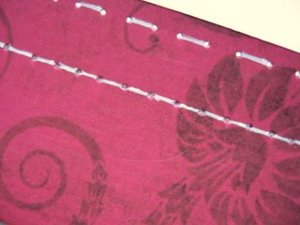
Each of the holes can be joined up, with the color you have chosen for your stitches, or you can join every other one for a different look.
The photo shows how both options will look. And because of the pricked out holes it looks as if the stitches are for real.
Step 3
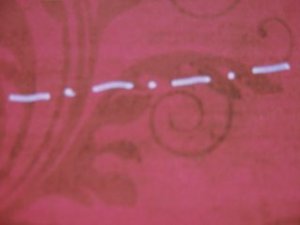
Here is another way to do the stitches, and that is to use a dot and dash line instead.
With this effect there is no pierced paper edge, I just free styled this !!
Step 4
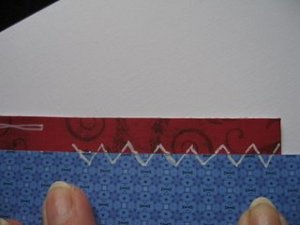
Maybe you want to create a patchwork on your cards with all your left over pieces of paper...well why not join them with a zig-zag stitch for an unusual effect.
(Oooops! Try to make yours neater than mine!)
Step 5
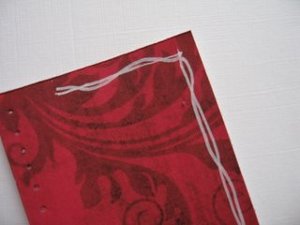
Or try this alternative, and just doodle a line around the edge and then go around again, weaving the second line around the first.
(This time it's supposed to be wonky!)
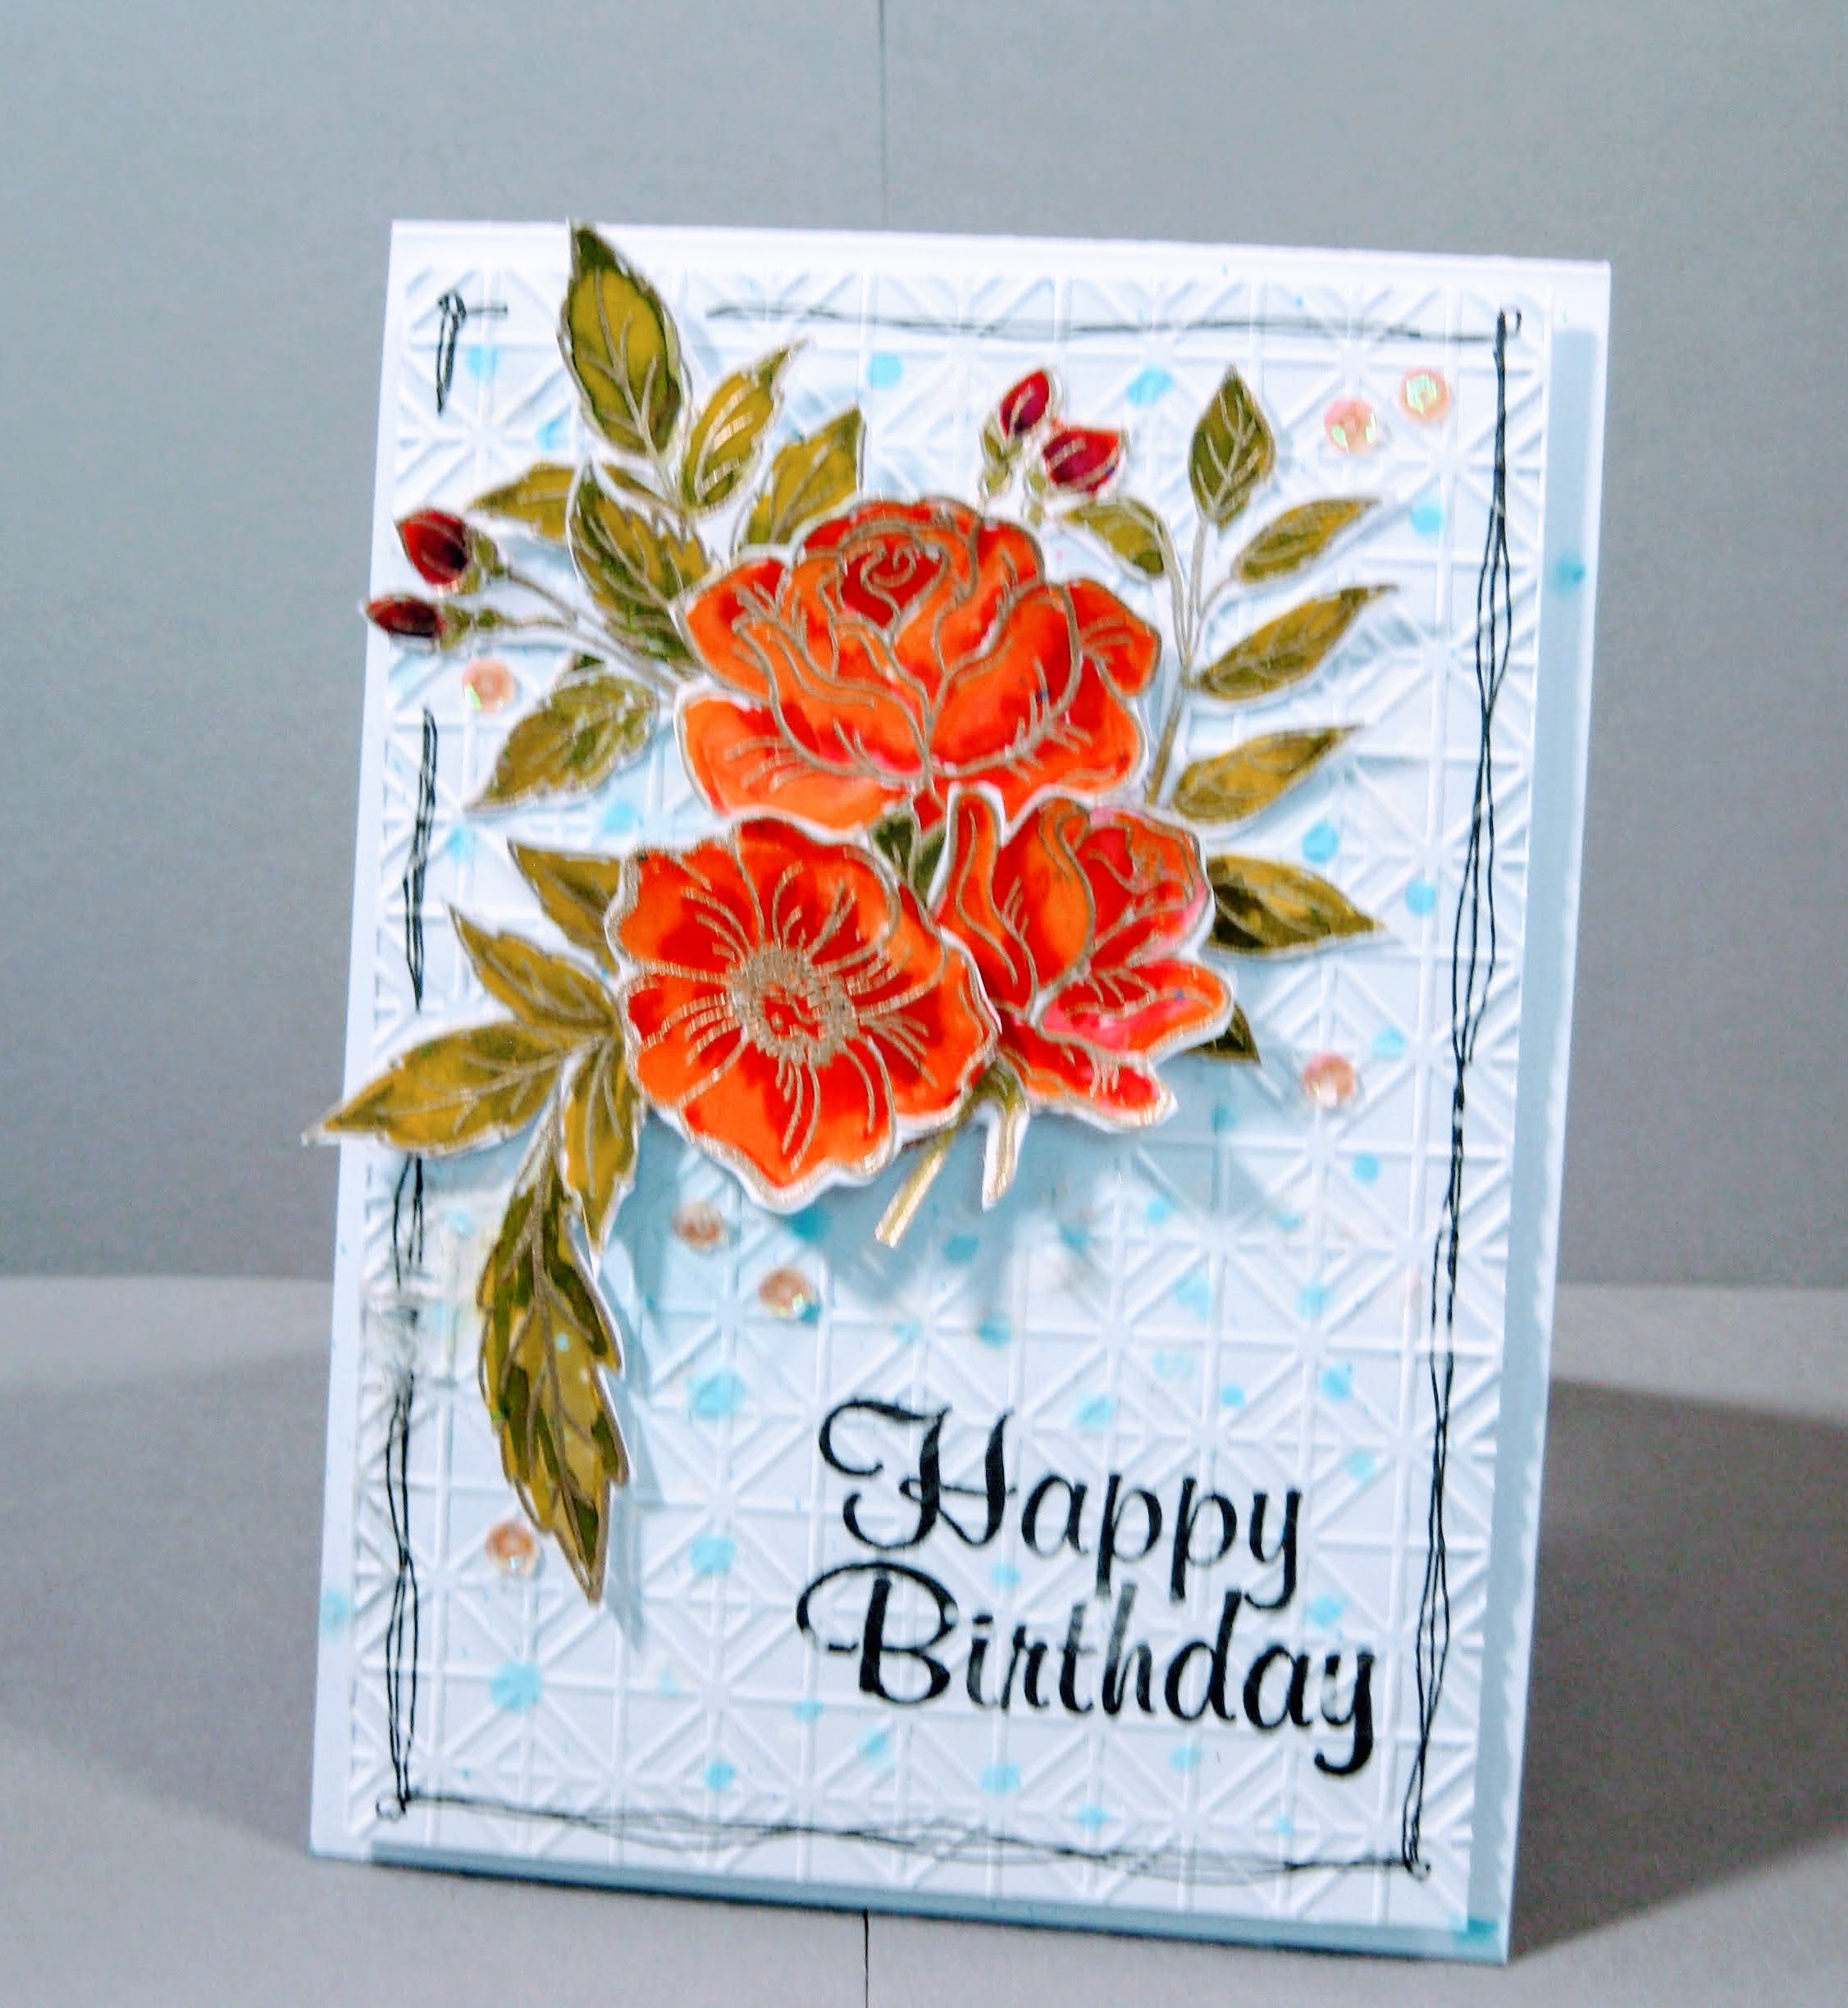
This looks particularly good when done with a gold or silver pen.
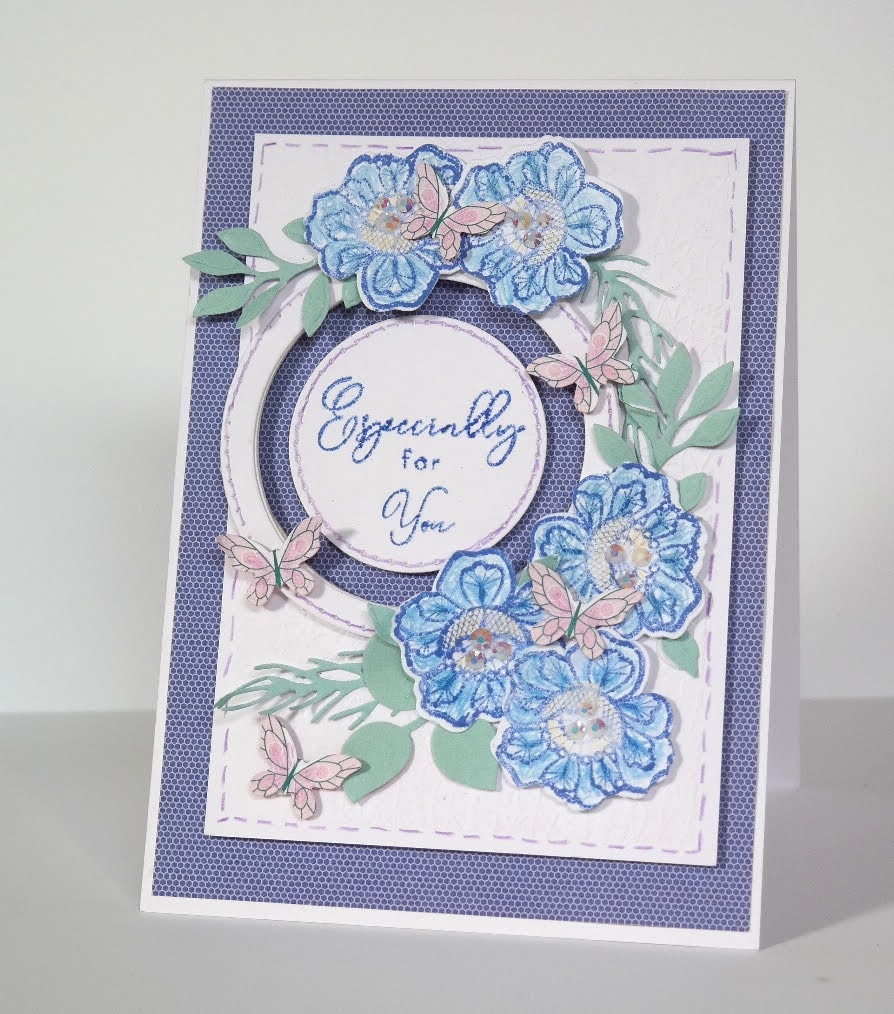
The inner panel has been done in a Sakura glitter pen to match the colour scheme of the finished card
Just two sketchy lines done in a wonky fashion make all the difference
I hope you enjoy adding this to your cards for another way to finish them off.
The faux stitching can be added to the edges of flowers to define the petals.
Here I have added it to the smaller rectangle and the inner circle
In fact try it on many of your projects to see if you like it.
You can always discard it if it's not for you.
Practise the stitches first before you start on the good stuff.
Return from Faux Stitching to Homepage

Recent Articles
-
Memory Book
Oct 15, 22 09:17 AM
Make a memory book, fun to make and even lovelier to give. -
Die cut letters.
Jul 19, 21 10:12 AM
Add that personal touch with die cut letters, add names or sentiment as you please. -
Diaper Fold Card.
Jul 19, 21 09:34 AM
Create this fun Diaper Fold Card...and no need for a pin!
Search

