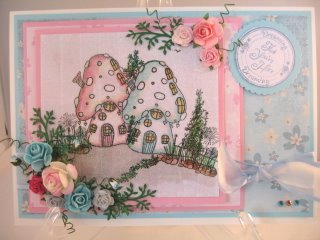
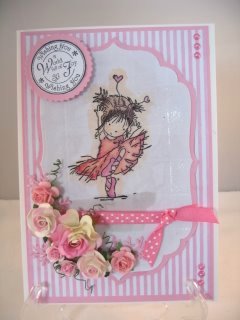
The Faux Tile Effect...
for all your fun cards.
Try this Faux Tile Effect and add a little fun to your creations.
Every so often we like a different look to our cards and this one is easy to create and adds a fun element to your designs.
It can be added to any type of card and any kind of image.
You may like to stamp your images, get them as digital downloads or maybe you are clever enough to be able to draw your own.
You may prefer to watch the technique being done and if that is the case then here you will find the Video Instructions.
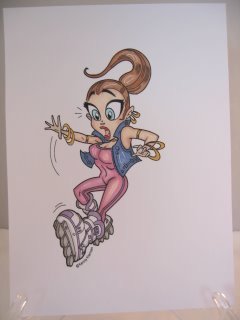
This "Skater Chick" and the "Hot Diggity" dog are digital downloads from KennyK Stamps
A fabulous website and once a month there is a Freebie for you to use.
I have used Promarkers to colour all my images.
Keep the image with plenty of space around it as you will trim it to size and shape later.
I have used a bone folder and a Scoring Board to get the grid pattern that I need on my card.
Place the card on the scoring board and run the bone folder along the groove you wish to use.
I have used every other groove for my card.
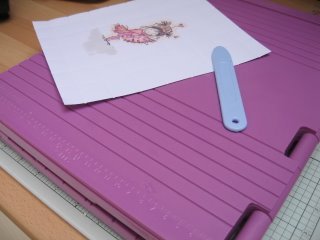
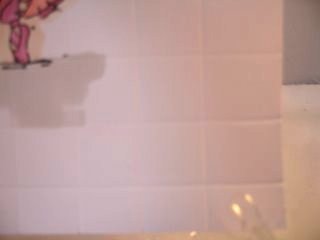
It doesn't matter which way you score first because you are going to rotate the card and score the lines in the other way.
The photo shows you the effect you are going to get.
Once you have the grid pattern you will need to decide the size you want your card to be.
I have used Spellbinders to give me the shape I want.
On the card I have made a registration mark for the size I used.
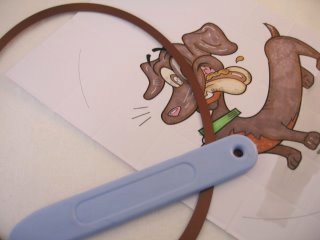
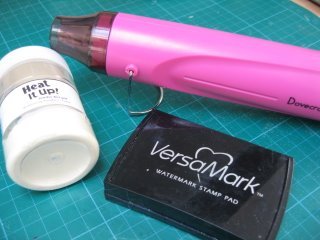
For the next step I have used VersaMark, some clear embossing powder and my heat gun to melt it.
The registration marks show you where to add the VersaMark too and so not waste any of the product.
And once the image has been embossed, you can go ahead and cut it to size and shape.
Take a look at the Heat Embossing Tutorial to show you how to do the technique.
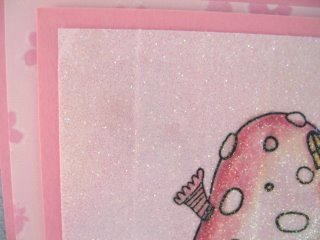
You are now ready to make your card.
Mat and Layer your pretty papers together and add any Embellishments in your "stash"
And there is your very own Faux Tile Effect card.
Return from Faux Tile Effect to Homepage

Recent Articles
-
Memory Book
Oct 15, 22 09:17 AM
Make a memory book, fun to make and even lovelier to give. -
Die cut letters.
Jul 19, 21 10:12 AM
Add that personal touch with die cut letters, add names or sentiment as you please. -
Diaper Fold Card.
Jul 19, 21 09:34 AM
Create this fun Diaper Fold Card...and no need for a pin!
Search

