Glitter Background
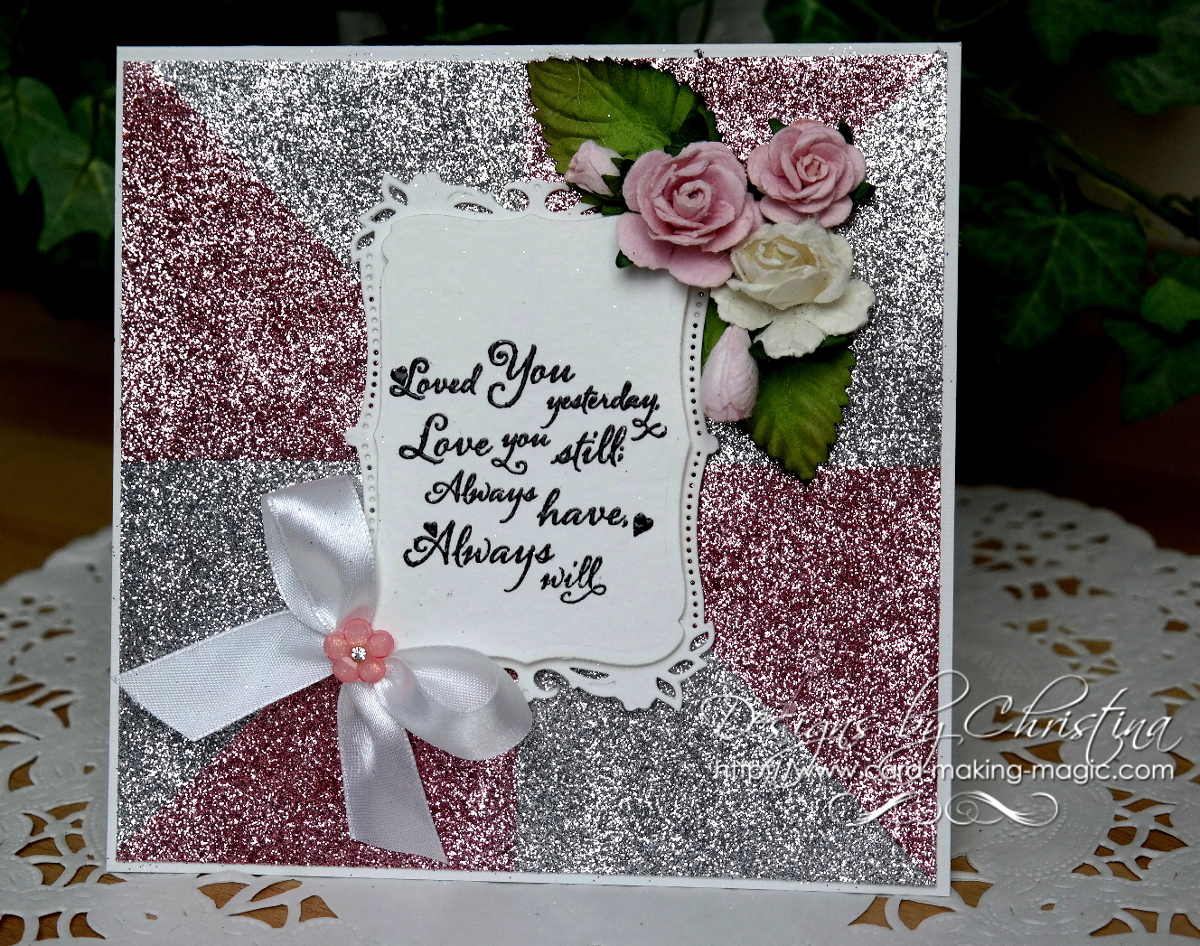
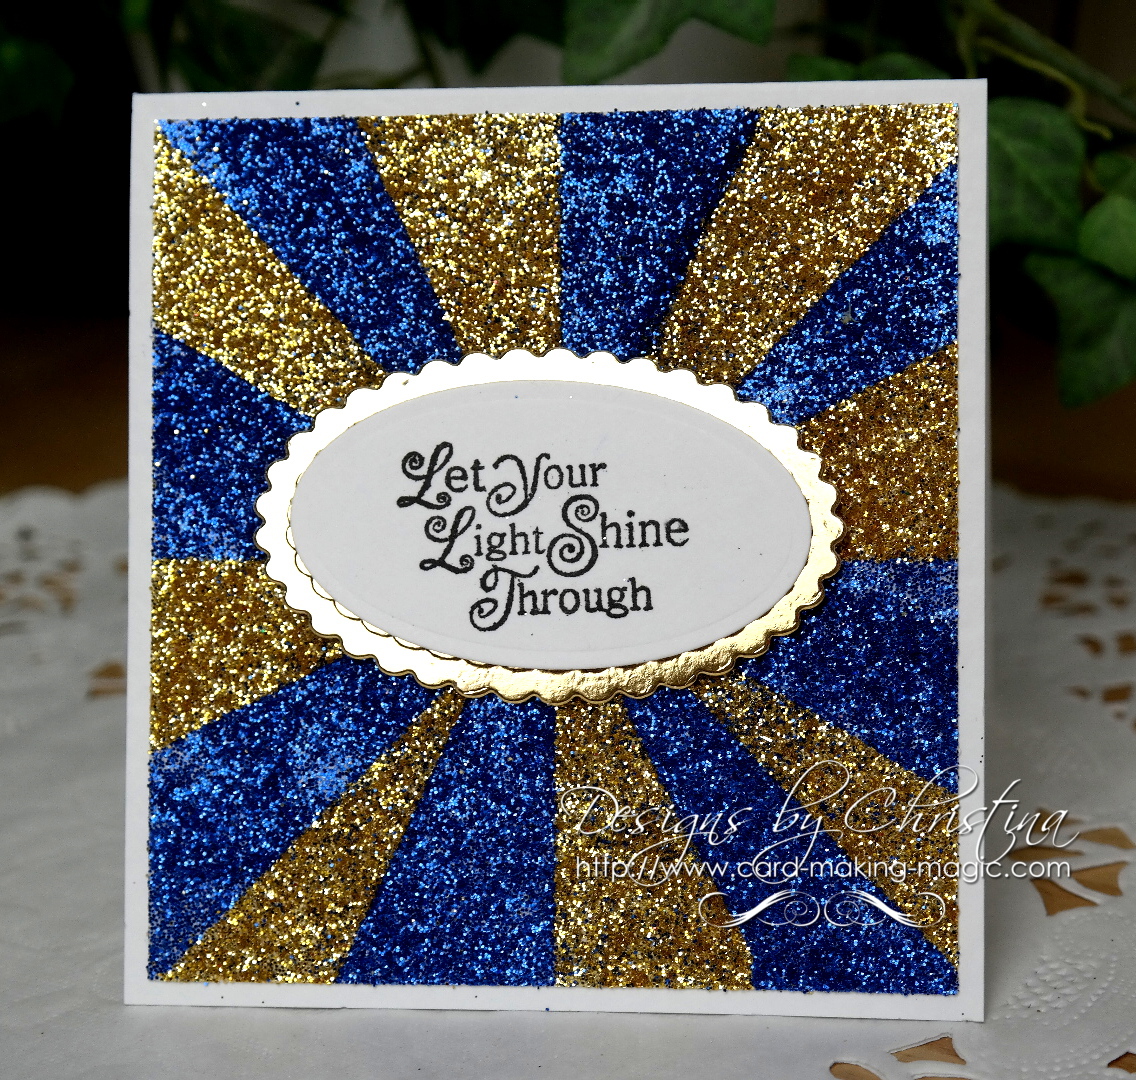
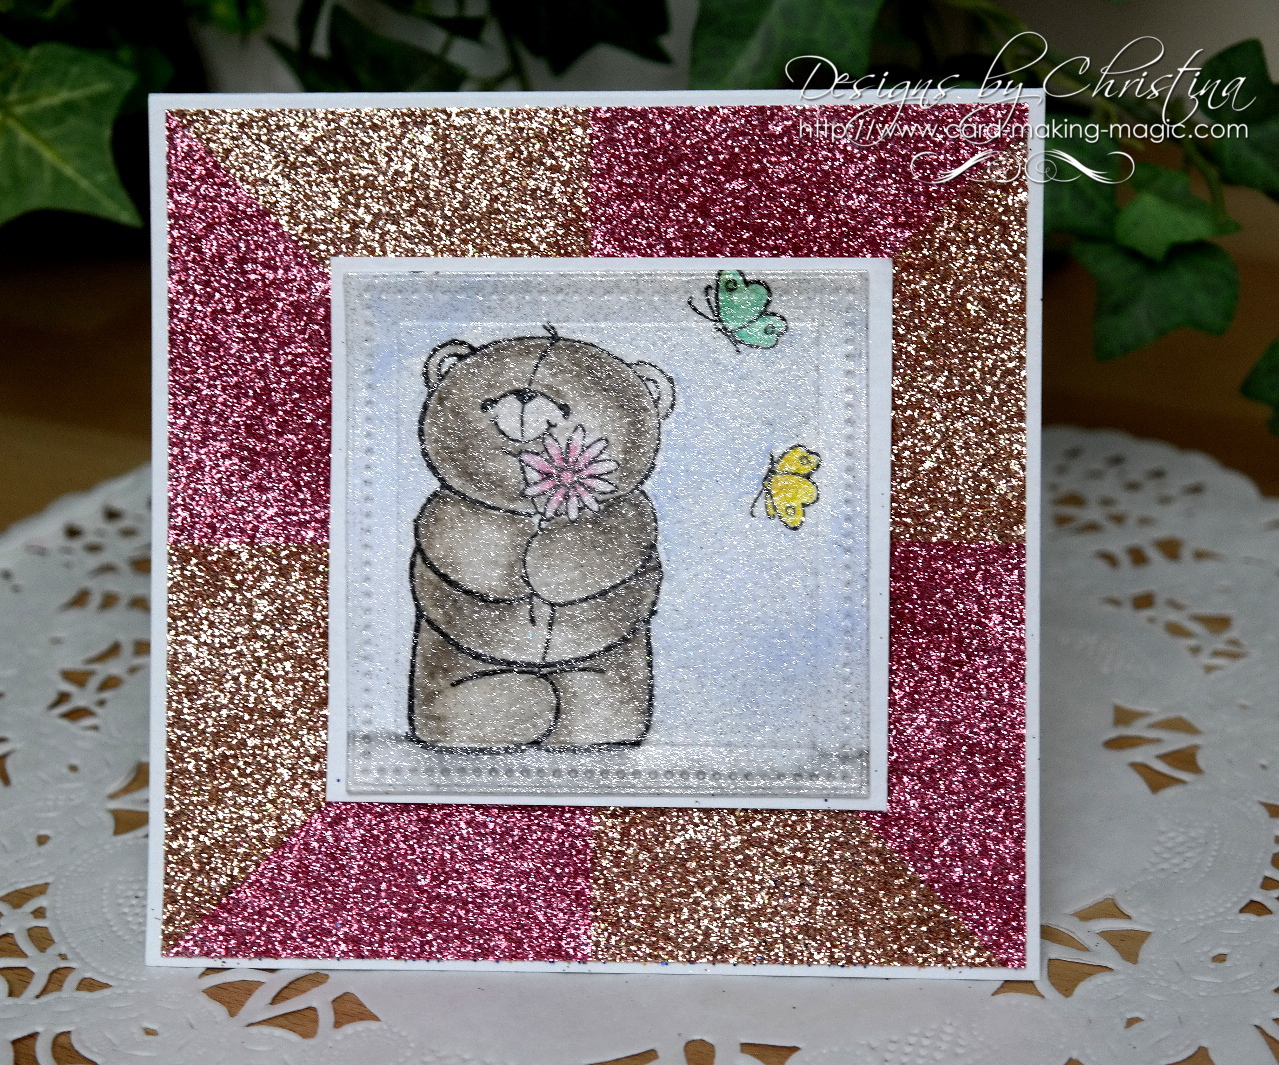
Create a beautiful Glitter background and add some real sparkle to your designs. It will certainly take them out of the ordinary
Making your card look different is something that we all like to manage and there are so many ways that this can be achieved.
It doesn't have to cost much to make them stand out but the effort is so well worth it
So the first thing is to look at all those pots of glitter that you have sitting in your "Stash" and put them to work
See which colours work together and that you have enough to complete the project
You will need some double sided adhesive sheets to work with as these will allow you to cut a larger area for your project. You can even add DS sheets to card and then die cut it for another way to use them.
I use a fine glitter as this presses into the card easier than the chunky stuff and I get mine from Glitter Magic because it is good value and there is a rainbow of colours to choose from
Let the video show you how I created the cards and then you can experiment and divide yours as much as you like.
If you feel brave enough then you can also free hand any design and remove pieces in areas you like and add the glitter
I added another video to show you another way to use this technique and you will find it here ...
Mosaic Card

The flowers I have used are from
Wild Orchid Crafts and I added them with a hot glue gun so they will stay on the glitter
A fun technique that is easy to and that gives a pleasing result.
The double sided adhesive sheets are not expensive and there are probably three or four in the pack.
It is a good way to use up left over glitters and what you don't use can be put back in the pot.
A tip for you is to add any contaminated glitter to a new pot for future use as it will be different to the original. A good way to create your own colour mixtures
You could also try this idea with flock or gilding flakes for even more changes to your card making
Return from Glitter Backgrounds to Homepage

Recent Articles
-
Memory Book
Oct 15, 22 09:17 AM
Make a memory book, fun to make and even lovelier to give. -
Die cut letters.
Jul 19, 21 10:12 AM
Add that personal touch with die cut letters, add names or sentiment as you please. -
Diaper Fold Card.
Jul 19, 21 09:34 AM
Create this fun Diaper Fold Card...and no need for a pin!
Search


