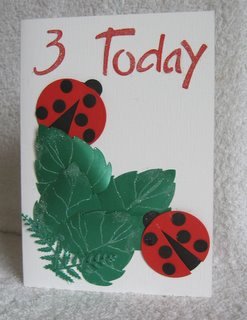
Create this Ladybird Card...
...to delight the children.
This quick and easy Ladybird card is ideal to send to a child, or let them make their own bugs!
Search

You can make your bugs any color you want ...the method is still the same.
But here I will stay with the traditional colors for the Ladybird.
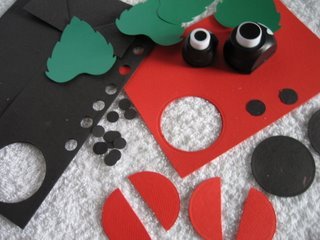
You will need circle punches in various sizes, and some red and black card for the ladybird, and green card for the leaves.
Use any leaf shape that you have, either diecuts, stamps, punches or embossed shapes. Make several of them.


Punch out two cicles of red from the largest punch and cut these in half.
From the black punch two circles from the largest, two from the middle size and lots of black ones from the smallest one.
Try placing them in a dry run onto the base card until you are happy with the composition. Happy? then glue away!
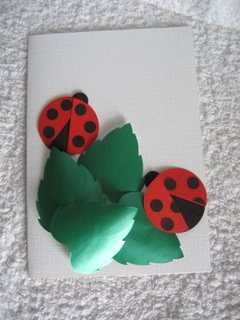
Add the leaves into the corner and position the bugs on the leaves.
Build up your ladybirds by placing the largest black circles onto the leaves, and adding the medium circles at the top of each one, for the head
Add the red half circles, two to each bug, on top with thin foam pads to raise them up a itttle.
Splay the two halves open to look like wings.
Use the smallest circles on these, for the spots on the ladybirds back.


I used diecuts for the letters and numbers, but chipboard would work just as well, or any other way you have to produce them.
Or freehand it if you can.
I added sparkle to them, and the leaves with Quickie glue pen and Glamour Dust.
Any child would love this, and there is something special about this Ladybird Card.
Return from Ladybird Card to Homepage
Search


Recent Articles
-
Memory Book
Oct 15, 22 09:17 AM
Make a memory book, fun to make and even lovelier to give. -
Die cut letters.
Jul 19, 21 10:12 AM
Add that personal touch with die cut letters, add names or sentiment as you please. -
Diaper Fold Card.
Jul 19, 21 09:34 AM
Create this fun Diaper Fold Card...and no need for a pin!
Search


