Magic Slider Card Tutorial
The Magic Slider Card Tutorial will show you how to make a card that will fascinate any child that receives one from you.
They always want to know how you did the magic to get this effect .... but Ssshhhhh! don't tell em'

It is very easy to do and the short video will take you step by step through the process.
We all have different ways to learn and I know that many people learn better by reading the steps to take.
So if you prefer to read then here are the Written Instructions.
This is project that can be very easily forgotten if you don't make them for a while.
To help you re-create the same look in the future then I would recommend that you make your self a Template.
I have used a 12" square card as this gives a good size to the finished project.
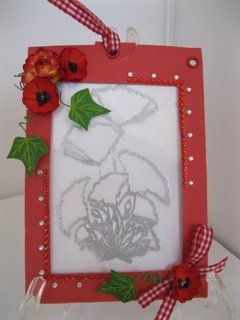
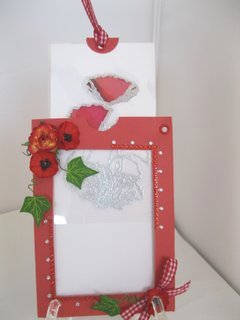
This is the card with the slider inside the pocket and the ribbon indicates where it needs to be pulled upwards ...


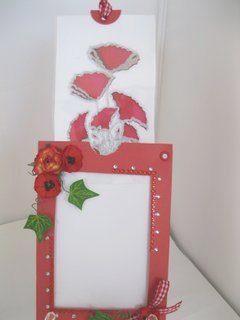
... and the surprise comes as the card is pulled to reveal the coloured inside.
On the inside piece we have tailored the panel so that enthusiastic children will not be able to pull the slider completely out of the pocket.
But it is one that they will enjoy and maybe older children would be pleased to make this to "Wow" their friends.
It can be used for any occasion and either boys or girls.
Just make sure that when you make the card that you don't add any embellishments to the acetate or it will prevent the slider from going up and spoil the effect that you are aiming for.
You can use any stamp that you have in your collection and I have used the Poppies from Clarity Stamp

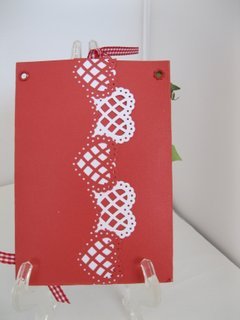
Don't forget to add some decoration to the back of the card so it looks good from any direction.
Any sentiment that you want to add can be stamped onto the inside panel and revealed as the slider is pulled up.
I hope you will give this project a try as the Magic Slider Card Tutorial is created just for you.
Return from Magic Slider Card Tutorial to Homepage
Search


Recent Articles
-
Memory Book
Oct 15, 22 09:17 AM
Make a memory book, fun to make and even lovelier to give. -
Die cut letters.
Jul 19, 21 10:12 AM
Add that personal touch with die cut letters, add names or sentiment as you please. -
Diaper Fold Card.
Jul 19, 21 09:34 AM
Create this fun Diaper Fold Card...and no need for a pin!
Search


