Making Photo Corners ...
To adorn your cards.
Making Photo Corners is another excellent way to use up odd bits of card.
Search

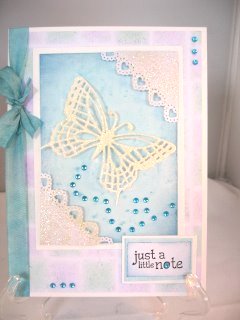
Photo corners are something that the scrapbooker uses on a regular basis.
But because cardmakers work on a smaller scale they are something we tend to overlook.
And yet they can be a very pretty addition to your designs.
You will need as much matching paper for the amount of corners you wish to make, and you don't have to put them in each corner if you don't want to.
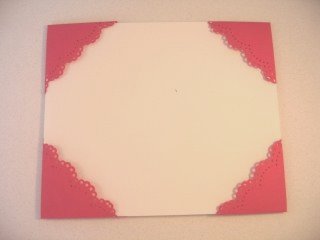
On this card I have used two.
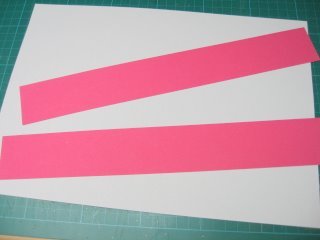
To make the pink corners I have used a strip of paper that is about 4cms wide (1 1/2ins)
The wider the strip then the bigger your corners will be so experiment with different widths until you are happy with the result.
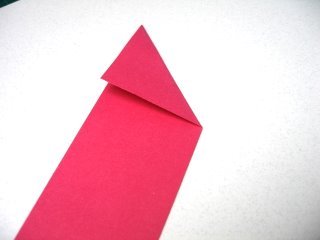
Make the first fold by taking one of the corners and creasing it on an angle to the edge.
Then fold the other side down to meet it. This will create a pyramid shape in the card.
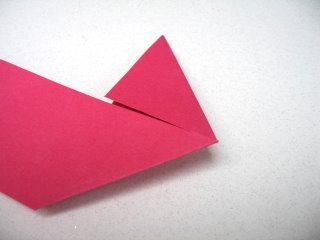
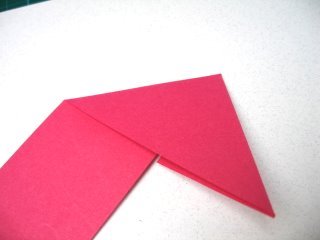
This is the first of the corners.
Snip it off and this is what you should have....Yes?
Now open it out and take one of your border punches...
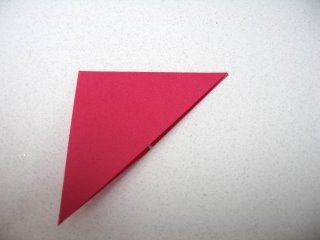
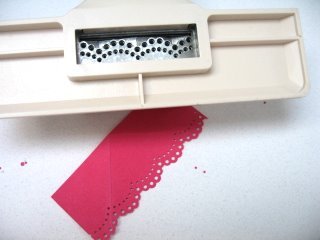
...and carefully punch along the longest edge.
You can also use fancy edged scissors.
On the reverse side just add a tiny bit of double sided tape to keep it closed.
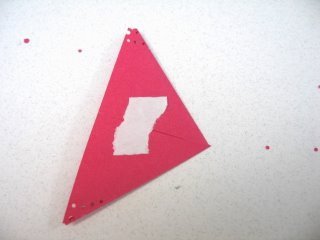
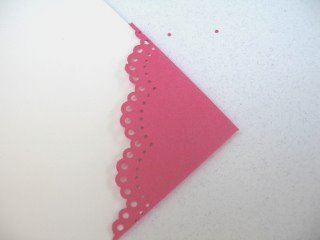
And your finished corner will sit neatly on the edge of your cards.
Making photo corners is easy and you can add as many as you need for your project.
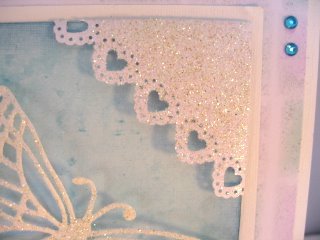
For my design I have made them out of plain white card.
I have used some spray glue and then covered it with Diamond Sparkles.
Then added one in each of the opposite corners for a lovely effect.
Return from Making Photo Corners to Homepage
Search


Recent Articles
-
Memory Book
Oct 15, 22 09:17 AM
Make a memory book, fun to make and even lovelier to give. -
Die cut letters.
Jul 19, 21 10:12 AM
Add that personal touch with die cut letters, add names or sentiment as you please. -
Diaper Fold Card.
Jul 19, 21 09:34 AM
Create this fun Diaper Fold Card...and no need for a pin!
Search


