Mirror Card
Mirror Card gives a lovely effect to all your creations and is
a useful addition for your Special Projects
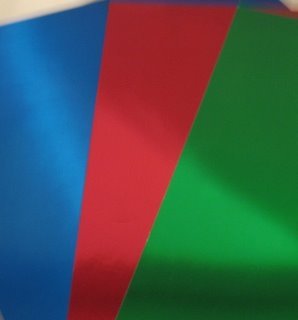
This Specialised Card comes in many different colours and finishes and can add a wonderful effect to your cards.
You can buy it in a bright card or brushed effect.
Some can have a beautiful striped look to it and metallic ones like bronze, copper and gun metal are really lovely.
Use it to create frames to surround your flowers, use dies to create sentiments to add to your designs.
It can be used to add matting and layering to your projects, or you could simply fold it in half to make a complete card base.
You will need a scoreboard to do this to avoid the card from cracking as you fold it.
Try running it through your die cutting machine in one of your Embossing folders for yet another look.
You can get holographic varieties of the card too, with stars, flowers or balloons, and other patterns that really add some sparkle to your cards
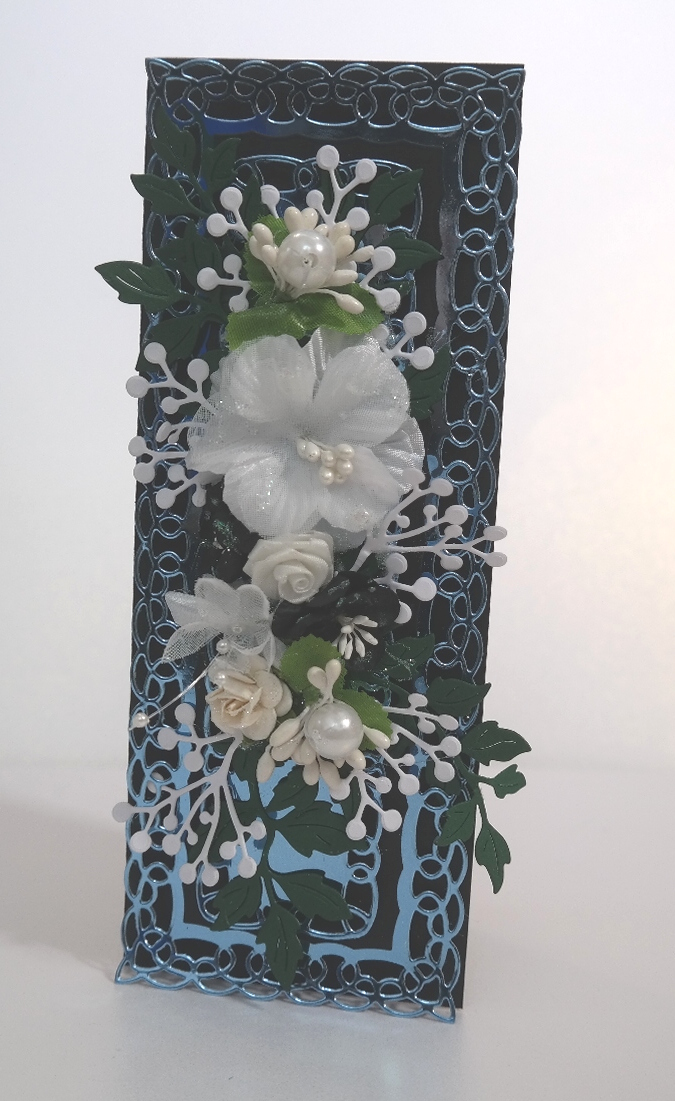
A beautiful bright blue mirror card has been used under the black die cut card to create a really opulent look to this floral design.
There are so many different way that you can make this card work for you with beautiful results.
It is not expensive and yet can make such a change to your designs.
Give it a try I am sure you will not be disappointed
For this card I have simply used dies to cut the words and added them to my card base.
A really good tip to help you save a little money on the mirror card that you buy is to use the centre of the card layer for your die cuts.
Once that mirror card layer is added under another layer then no one will ever know that there is a piece missing from the mirror card.
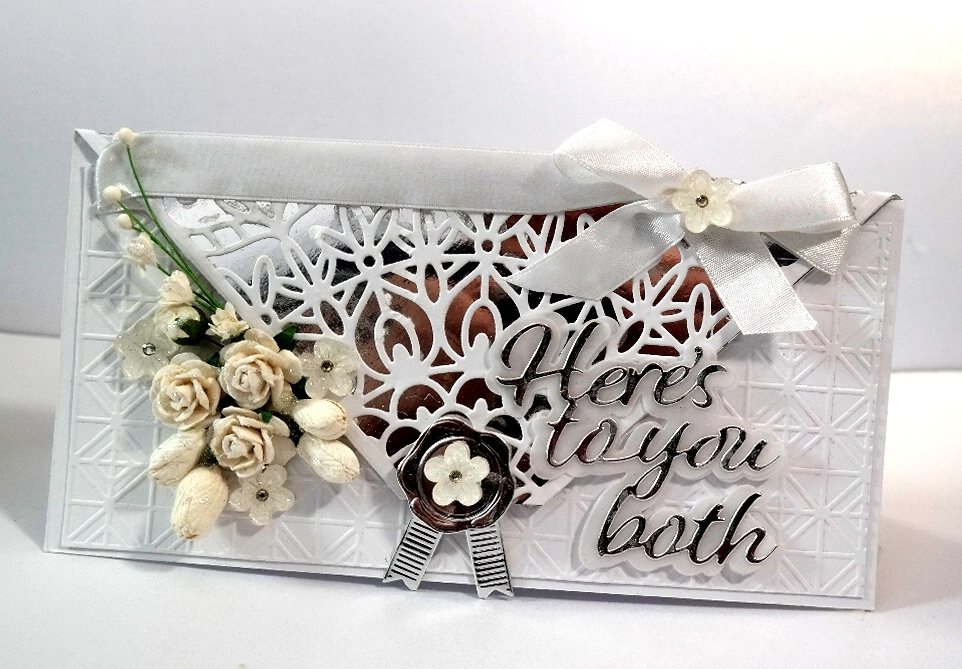
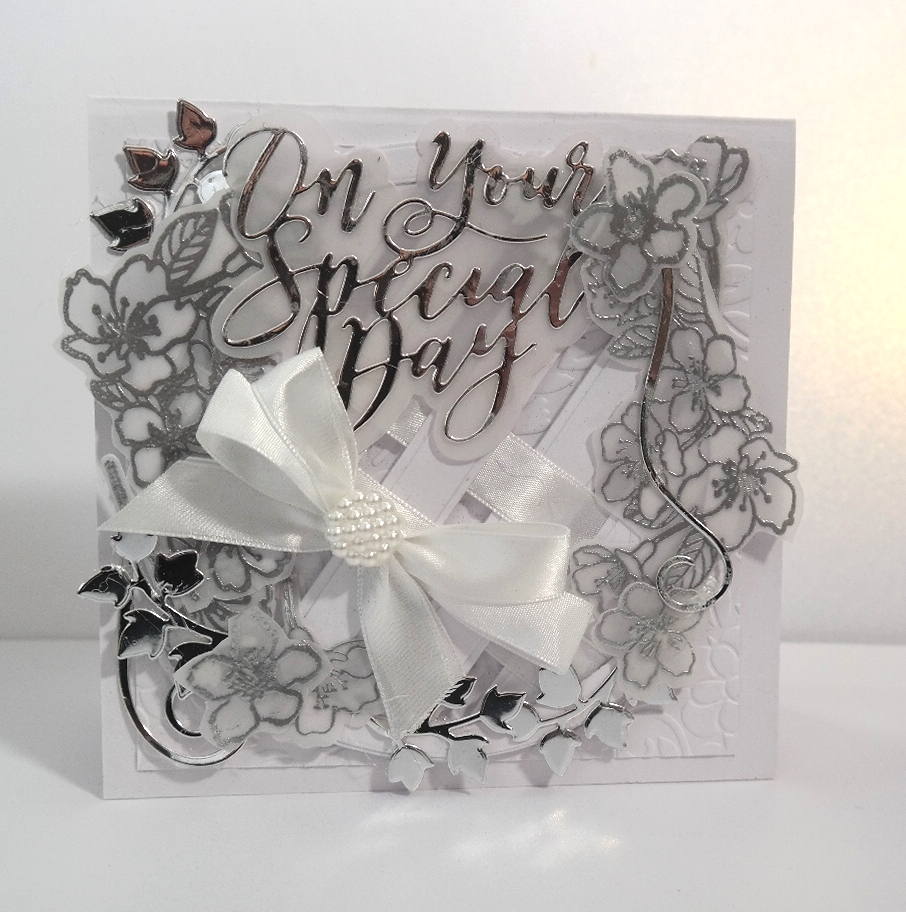
And for this card I have die cut the whole topper for my card in bright shiny silver mirror card.
Teamed with white it looks really special and is perfect for a Wedding card
You will find a wonderful selection of Mirror card both patterned and plain at Craft Stash and I have added the links below to some of my favourite mirror card and the dies I have used to create some of these cards
But what can you do if you don't have the exact shade of mirror card for the item that you want to make?
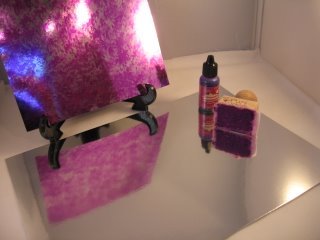
Well if, like me, you have lots of silver card and some Alcohol Inks then the answer is quite easily at your finger tips.
You will need a some way to add the ink to the mirror card.
A small piece of "Cut n 'Dry", a small piece of make up sponge or maybe you have had a go at making your own
Blending Tool all of these will work well
Add a few drops of the alcohol ink in the colour that you like to the blender and then dab it repeatedly over the card to give a mottled look.
It dries very quickly so you can work with it soon by die cutting or trimming to the size you require
If you want a two tone look then repeat the process with another colour until you are happy.
Then go ahead and add it as a layer to adorn your cards for an individual look.
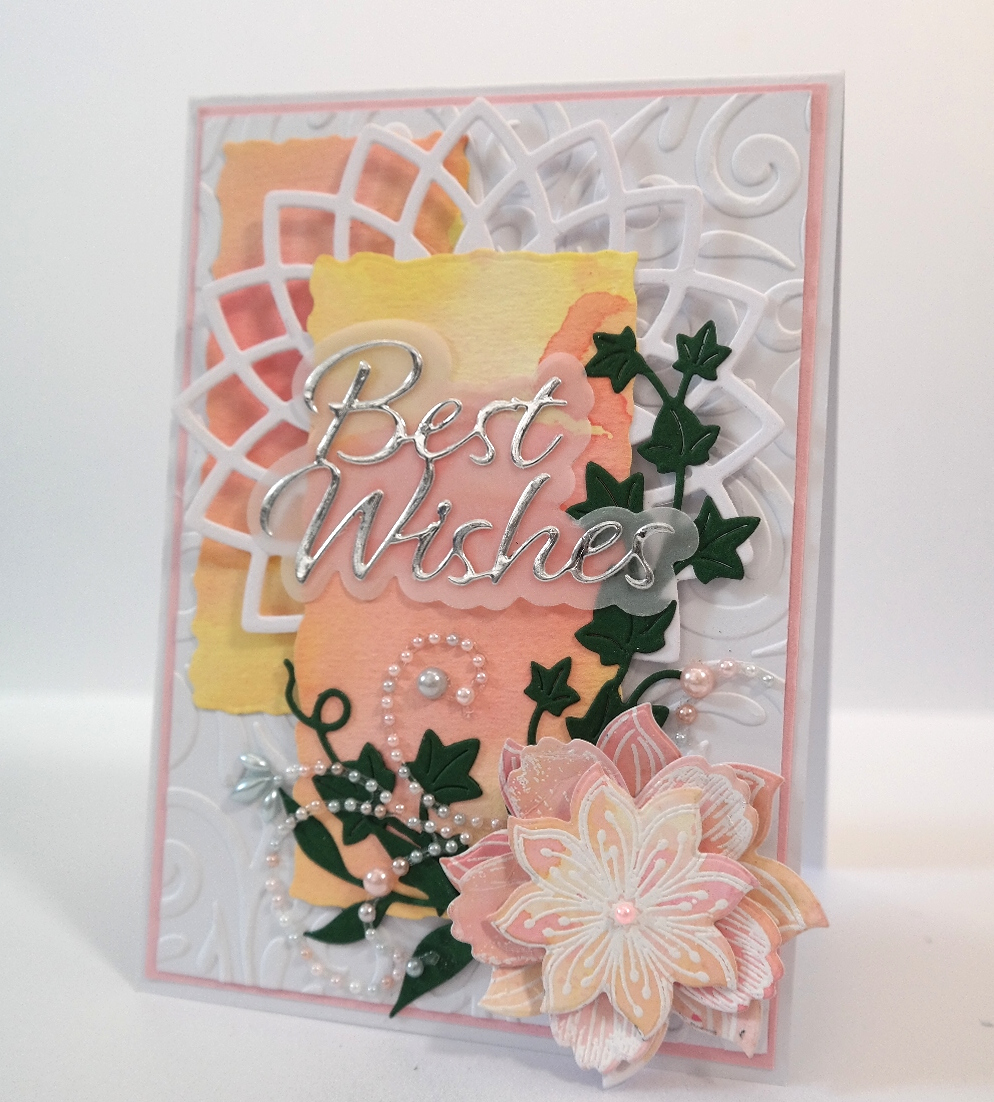
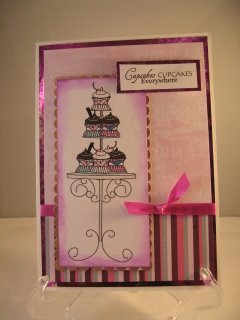
For this card I have used it as a mat and layer for the image and also to surround the sentiment panel.
The stripy card at the bottom changes the look and the ribbon disguise the join in the card
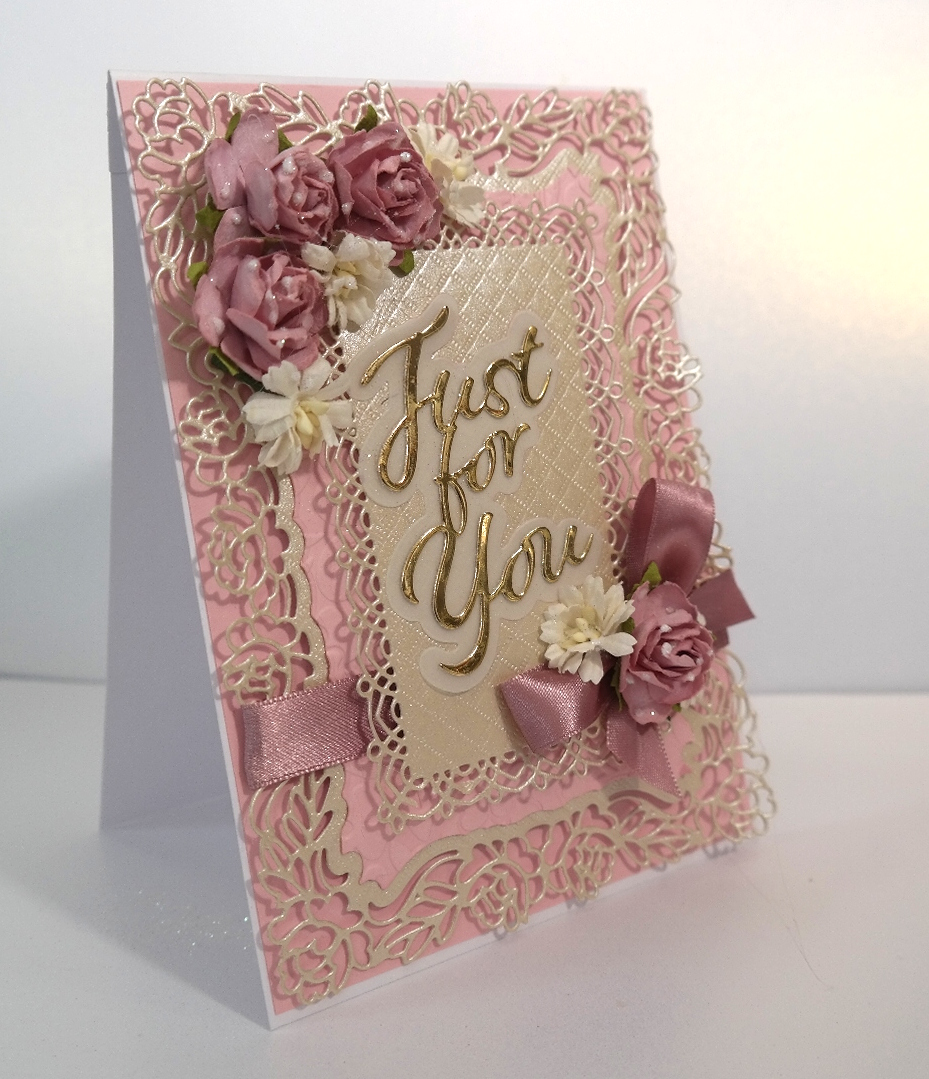
And last but not least is this beautiful Rectangle card that has been die cut using a pale brushed gold card for the detailed layer.
To the top I have added the words cut in a bright gold
And for a really quick card, which someone has unexpectedly asked you for, is to fold a sheet of Mirror card in half and simply add a large die cut sentiment to the top that says what you want it say.
A neat "Happy Birthday" could be all that is needed to create that card in a hurry and yet it will please some one no end when they receive it knowing that you have hand made it especially for them... even if it only took you ten minutes.
They will never know if you don't tell them it will be your secret !!

Return from Mirror Card to Homepage

Recent Articles
-
Memory Book
Oct 15, 22 09:17 AM
Make a memory book, fun to make and even lovelier to give. -
Die cut letters.
Jul 19, 21 10:12 AM
Add that personal touch with die cut letters, add names or sentiment as you please. -
Diaper Fold Card.
Jul 19, 21 09:34 AM
Create this fun Diaper Fold Card...and no need for a pin!
Search

