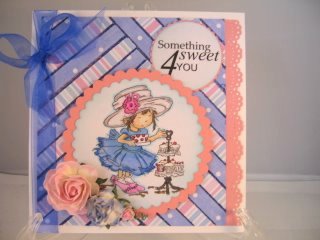
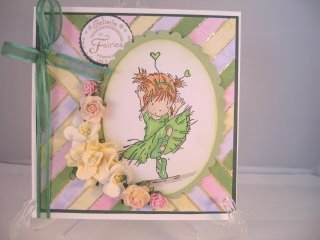
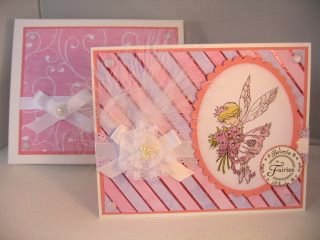
Mosaic Cards ...
For a really unusual background.
For a different look try making some Mosaic Cards
Sometimes all we want is a different look and we are willing to try something unusual to get that look.
You will need some double sided adhesive sheets to get this look for yourself.
So lets get busy and make some Mosaic Cards.
If you prefer to watch then here is the Video Tutorial
Step 1
Choose some pretty paper, and this is a good time to use up some of your larger scraps.
Cut it into strips.
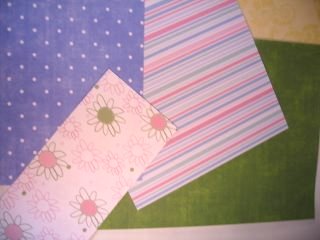
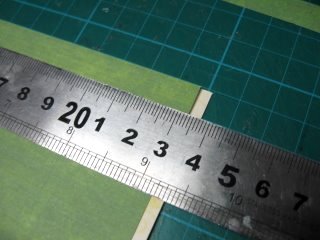
I have just laid my paper onto my cutting mat and used the grid marking to cut mine out....
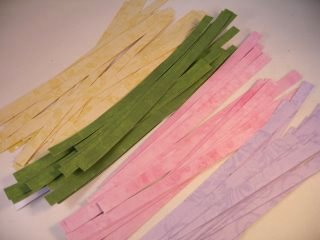
...so without any measuring I have got lots of different coloured strips.
Keep any you don't use for another project later.
Use any colours that you like.
Step 2
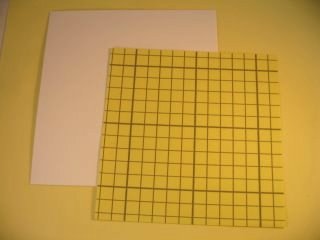
I have used a plain white base card and I have cut it to a 15cms (6") square.
Then I have cut the adhesive sheet into a 14cms (5 1/2")square.
This will allow me to mount the finished panel onto some backing card before I add it to my base card.
Step 3
Remove the protective backing from one side of the adhesive sheet and lay it flat on your work surface.
Then start laying on your cut strips in any pattern that you like.
Leave a small gap between each of the strips
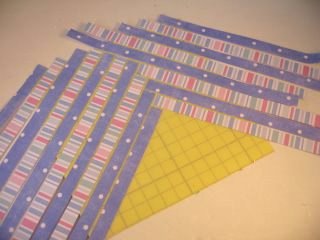
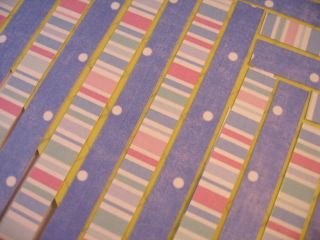
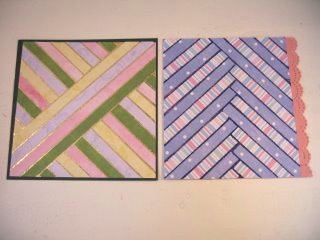
I have just laid mine in a simple chevron pattern and the photograph shows the gap that I have left between each strip.
Step 4
Pour glitter all over the panel and make sure it is in all the open areas.
Press it in with your fingers
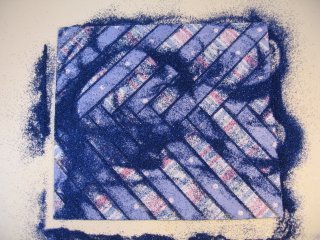
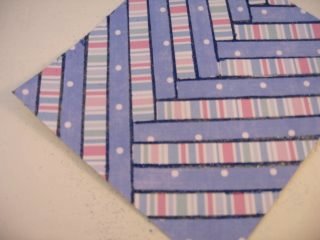
Then with a soft cloth or brush remove all the excess from the panel and this is what you will be left with.
I use an old make up brush that is very soft.
This is a different colour selection and I have brushed Gilding Flakes in between the gaps for this one.
It gives a very rich look to the background.
You could also use Mica Powders for another look to your Mosaic Cards.
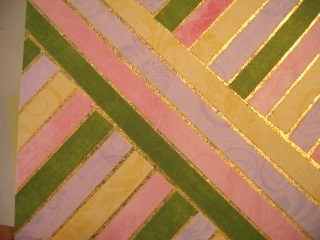
Step 5
Peel off the other protective backing paper and carefully add the panel to some backing card to Mat and Layer it.
Trim to fit your base card, leaving a small border around the edge.
Here you can see how each of the patterns will look before I add them to the base card.
Be adventurous with you patterns and see what you can create.
It is a fun technique to try and the results can be quite spectacular.
This card is made using the panel with the Gilding flakes.
I think it looks very special and of course I couldn't resist the flowers from Wild Orchid Crafts
It can be for any occasion and with a more masculine image would even suit your male cards.
Here is another card with the strips laid all one way and the gaps are filled with a lovely pink glitter.
This is a larger sized card and for this one I have made a box.
The finished result is pleasing and I hope you will try making your own Mosaic Cards.
Don't forget to add your creations to the Gallery Page.
Return from Mosaic Cards to Homepage
Search


Recent Articles
-
Memory Book
Oct 15, 22 09:17 AM
Make a memory book, fun to make and even lovelier to give. -
Die cut letters.
Jul 19, 21 10:12 AM
Add that personal touch with die cut letters, add names or sentiment as you please. -
Diaper Fold Card.
Jul 19, 21 09:34 AM
Create this fun Diaper Fold Card...and no need for a pin!
Search

