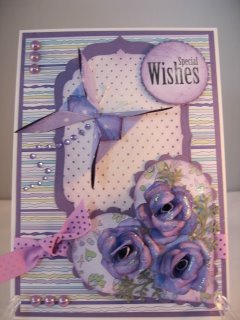
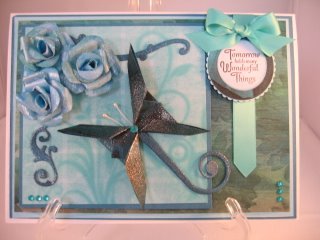
Paper Folded Butterfly Tutorial.
This Paper Folded Butterfly Tutorial is very easy to follow.

This butterfly is very easy to do and only requires some very simple folds in your chosen paper.
Choose some pretty floral papers and because the projects is small keep the pattern small too.
You will need two matching pieces and you can make it to any size you want.
But you will need the paper to be square when you start.
I have kept the paper very large in the video so that you can see the folds. But on the cards the paper is a 7cms square (About 2 3/4 ins)
If you prefer to read then this is where you will find the Written Instructions.
I will insist on calling it gel glue and it isn't.... It is Pinflair Glue Gel and it is a very versatile product.
It is one of the many adhesives I like to use on my projects, depending on what it is I want to achieve.
But this glue will give you height, if that is what you want and can also be used as a flat glue for matting and layering

The effect of this simple technique can look stunning on your cards.
I have added some sparkle to mine with Glimmer Mists. I have also added a touch of glitter to the wings.
Make sure you make the wings to match each other so that your butterfly doesn't look lop sided.
Add some gemstones or pearls to make the butterfly trail.
And ribbon would be another addition you may consider.
I am sure you will enjoy this very easy Paper Folded Butterfly Tutorial, and adding it to your designs.
Return from Paper Folded Butterfly Tutorial to Homepage
Search


Recent Articles
-
Memory Book
Oct 15, 22 09:17 AM
Make a memory book, fun to make and even lovelier to give. -
Die cut letters.
Jul 19, 21 10:12 AM
Add that personal touch with die cut letters, add names or sentiment as you please. -
Diaper Fold Card.
Jul 19, 21 09:34 AM
Create this fun Diaper Fold Card...and no need for a pin!
Search


