Make this Rocking Card...
...In no time at all.
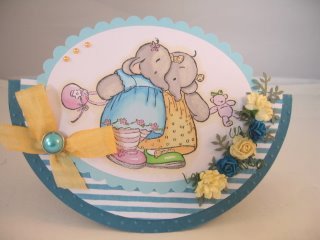
A simple and easy design ...the Rocking Card will please all ages
Make this card in easy steps and be really pleased with the result.
It will suit all age groups and can be used for your male cards too.
Perhaps you like to watch what someone is doing and so I have added the video instructions here...
Rocking Card Tutorial
Step 1
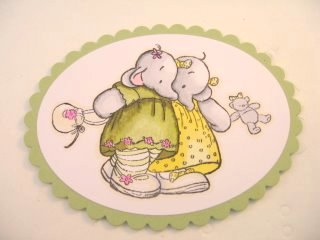
Choose the image that you want to add to your card and colour it in with your prefered medium.
These delightful elephants are from the new "Humphreys Corner Collection" from
I find it easier to select my colour scheme before I start to work on the image, and I have layered it onto some green card.
Step 2
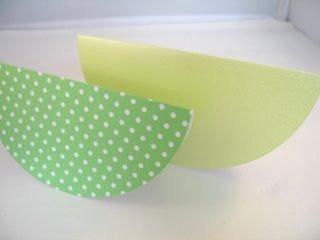
To make the base you will need to cut some circles.
This can be achieved by simply tracing around a plate and cutting it out carefully. using dies, to do the job or
use whatever way you have available to you.
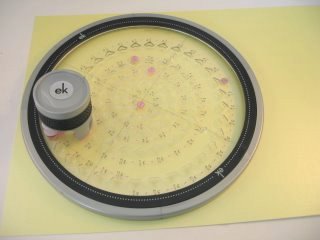
I have used the Circle Cutter to produce mine.
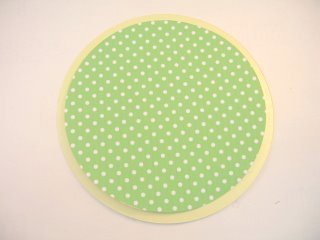
I have cut the largest circle to 6" and the smaller one at 5 1/2"
Step 3
Score and fold both in the middle of each piece.
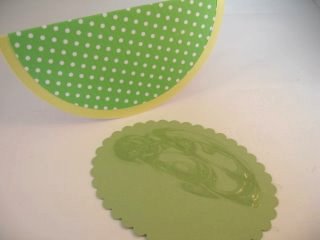
Then with a wet glue mat and layer them both together leaving the small border.
Step 4
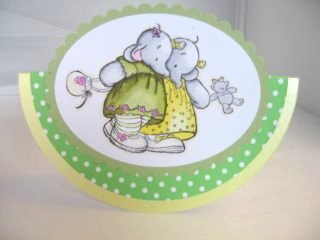
Because you want the image to be above the base card you will need to glue it at the lower part only...
... then add it to your rocking card base.
Make sure it is in the centre area and that there is a neat border around the image.
Now comes the fun part.... adding the "Bling"
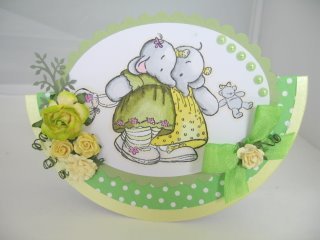
I have added flowers, pearls and Glamour Dust to mine.
I have used Seam Binding and coloured it in to match my scheme.
This card will be visible from all angles.
Make the most of the back and add more embellishments and the sentiment.
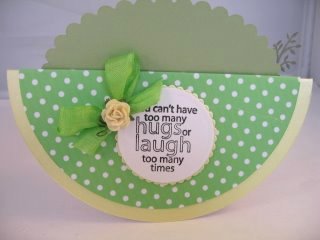
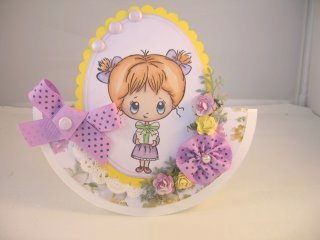
Use any of the stamps that you have in your collection.
The flower on this card is made from the same ribbon as the bow and
And again I have followed the theme through to the back of the card.
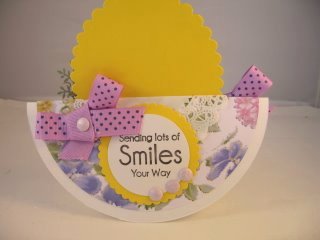
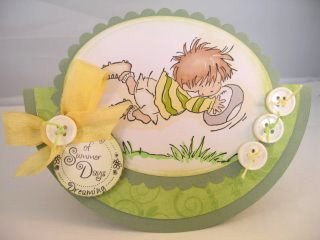
Alter the look of the card and make it for a boy by changing the image and adding buttons instead of the flowers.
Return from Rocking Card to Homepage

Recent Articles
-
Memory Book
Oct 15, 22 09:17 AM
Make a memory book, fun to make and even lovelier to give. -
Die cut letters.
Jul 19, 21 10:12 AM
Add that personal touch with die cut letters, add names or sentiment as you please. -
Diaper Fold Card.
Jul 19, 21 09:34 AM
Create this fun Diaper Fold Card...and no need for a pin!
Search


